

Explain your system to someone new
A new developer joins on Monday. They need to know what talks to what, and why the email worker is the part everyone worries about, before they read any code. A diagram on a wiki won’t tell them that. A story will: it walks them through the live map one step at a time, like slides, with each step framing the parts it’s about and the load at that moment.
This walkthrough makes a story from the Black Friday scenario on the Checkout system map, rewrites it for a newcomer, and presents it.
1. Start from a saved scenario
Section titled “1. Start from a saved scenario”A story can stop at moments in a scenario, so the map needs one saved. If you did Will it survive Black Friday?, it has one. Otherwise:
- Open Scenarios, pick Black Friday, and choose Save with the map.
2. Draft the story
Section titled “2. Draft the story”-
Open Stories. Because the map has a saved scenario, it offers to draft a story from it. Choose From Black Friday.
-
Flozu writes six steps: the whole map at the start, one for each moment worth stopping at (the Email worker getting tight, then running over, the busiest moment and the quietest), and a last step called With more room that shows the fixes the scenario suggests.
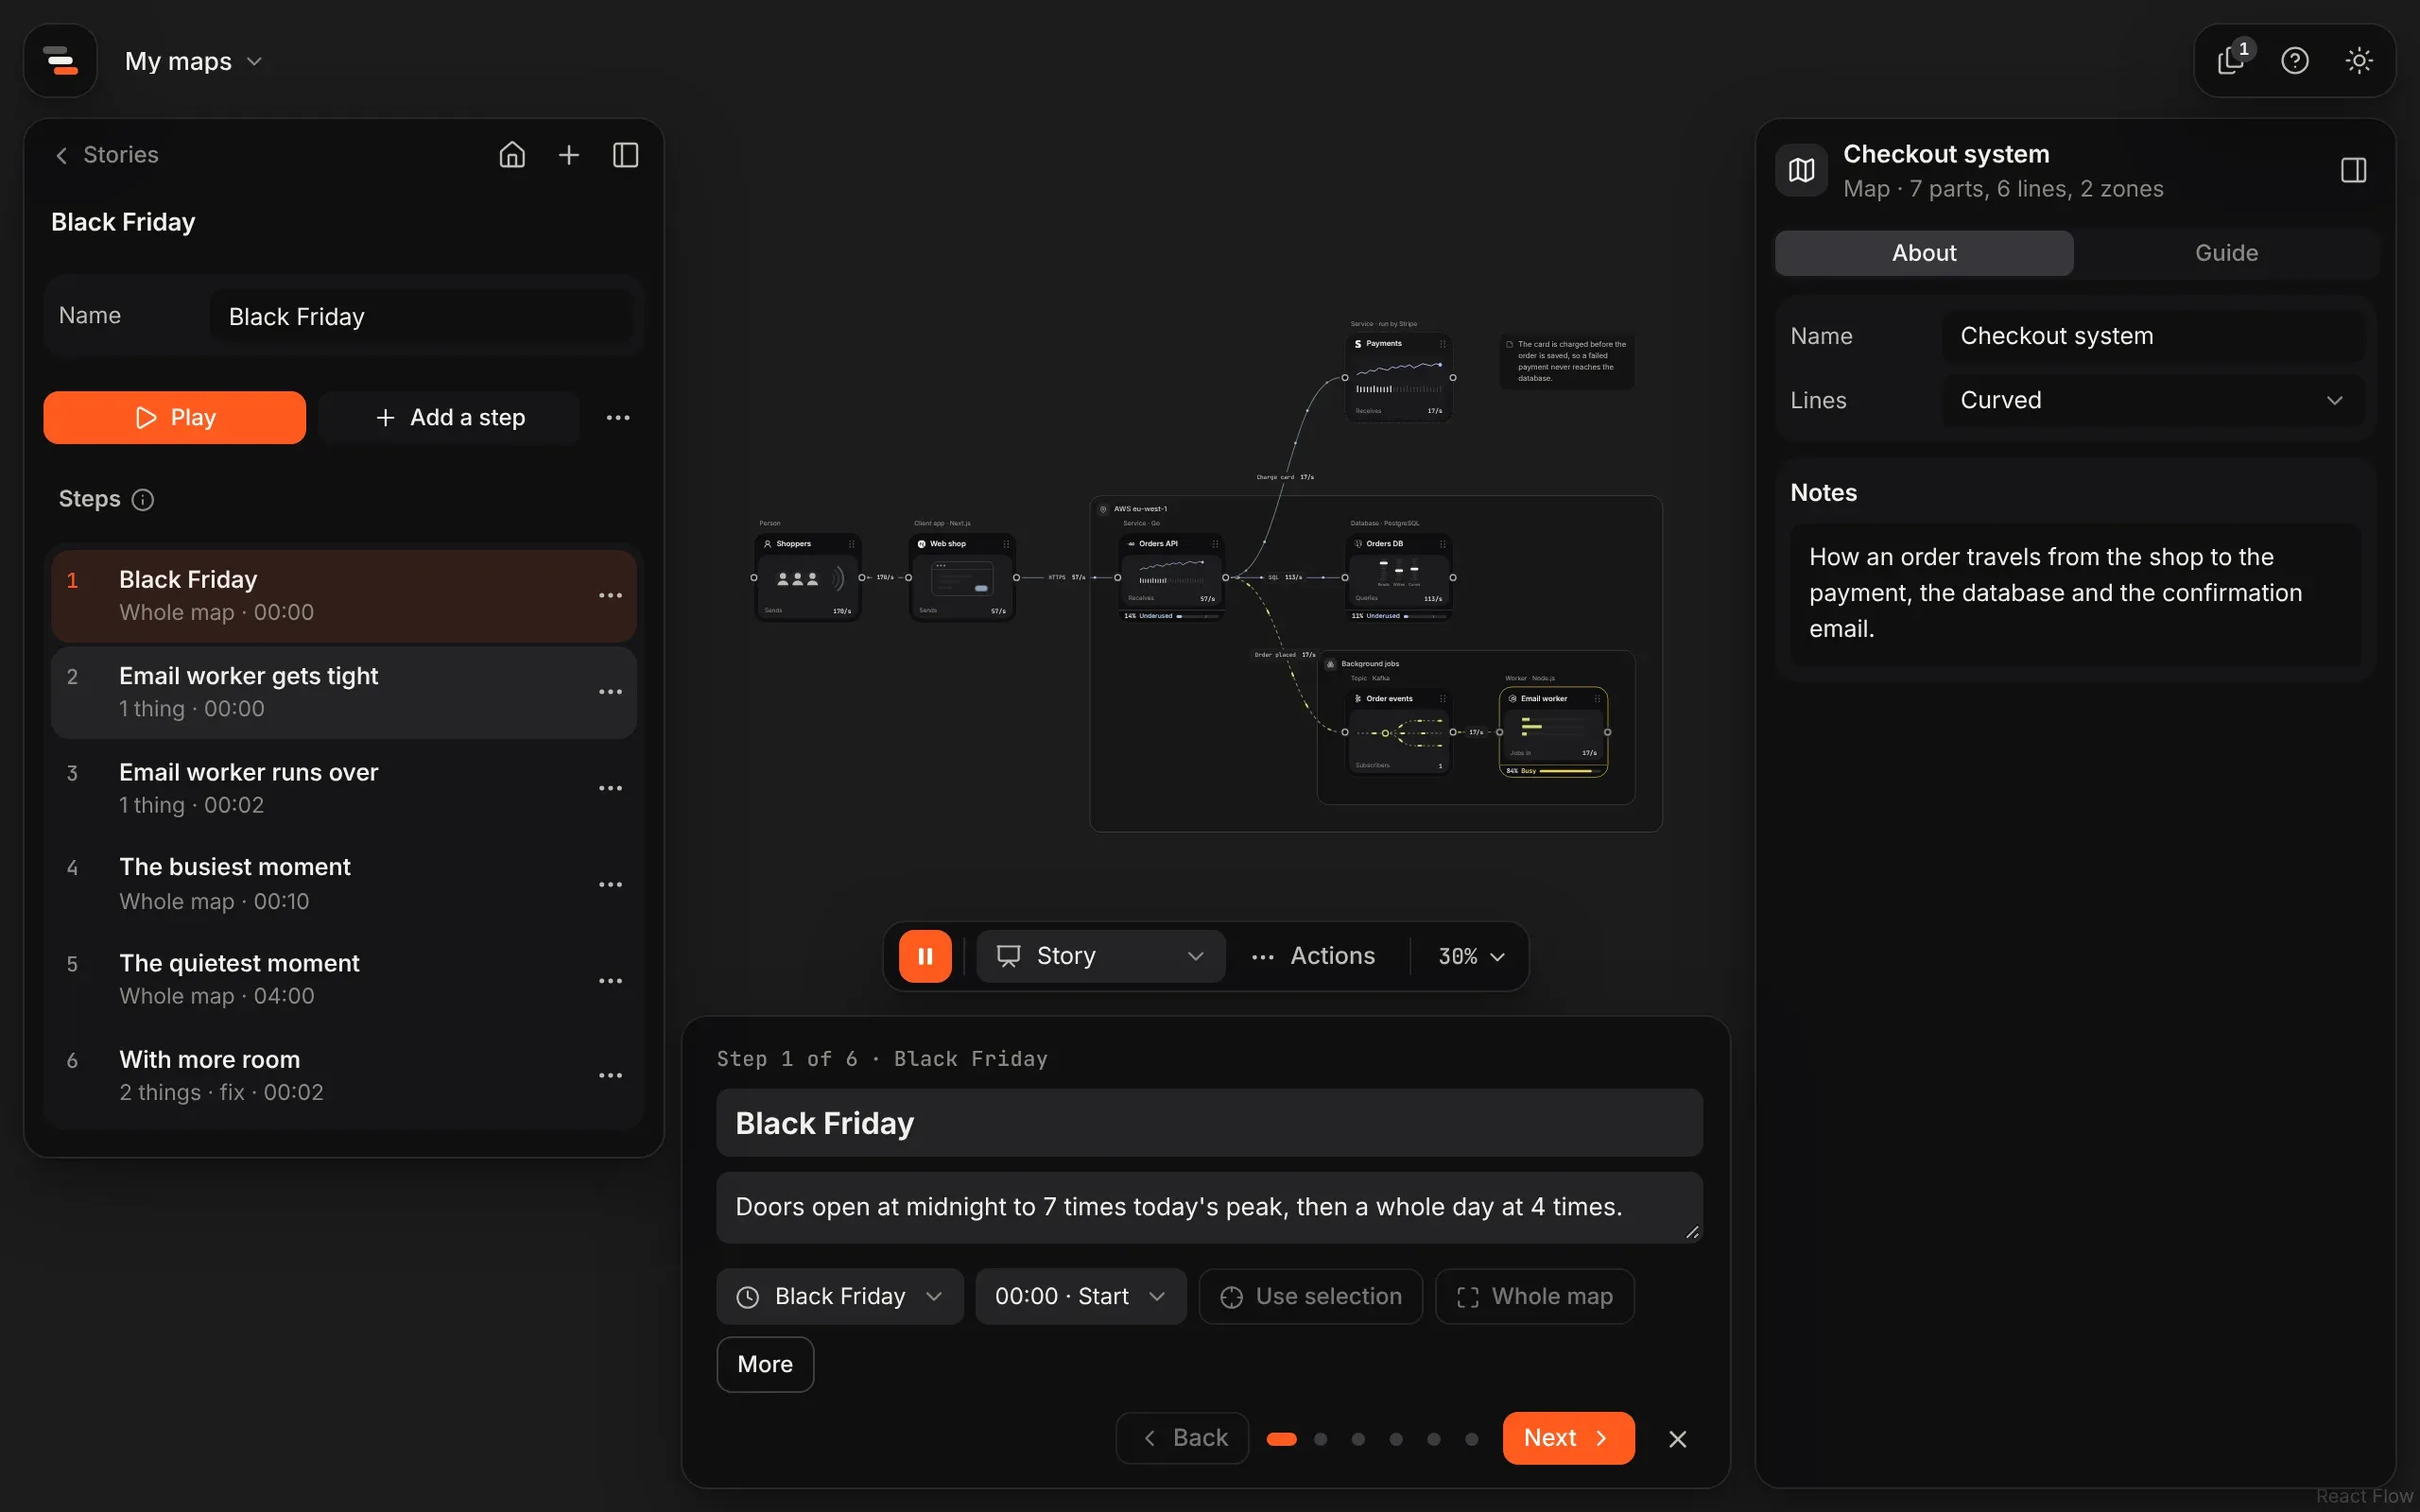
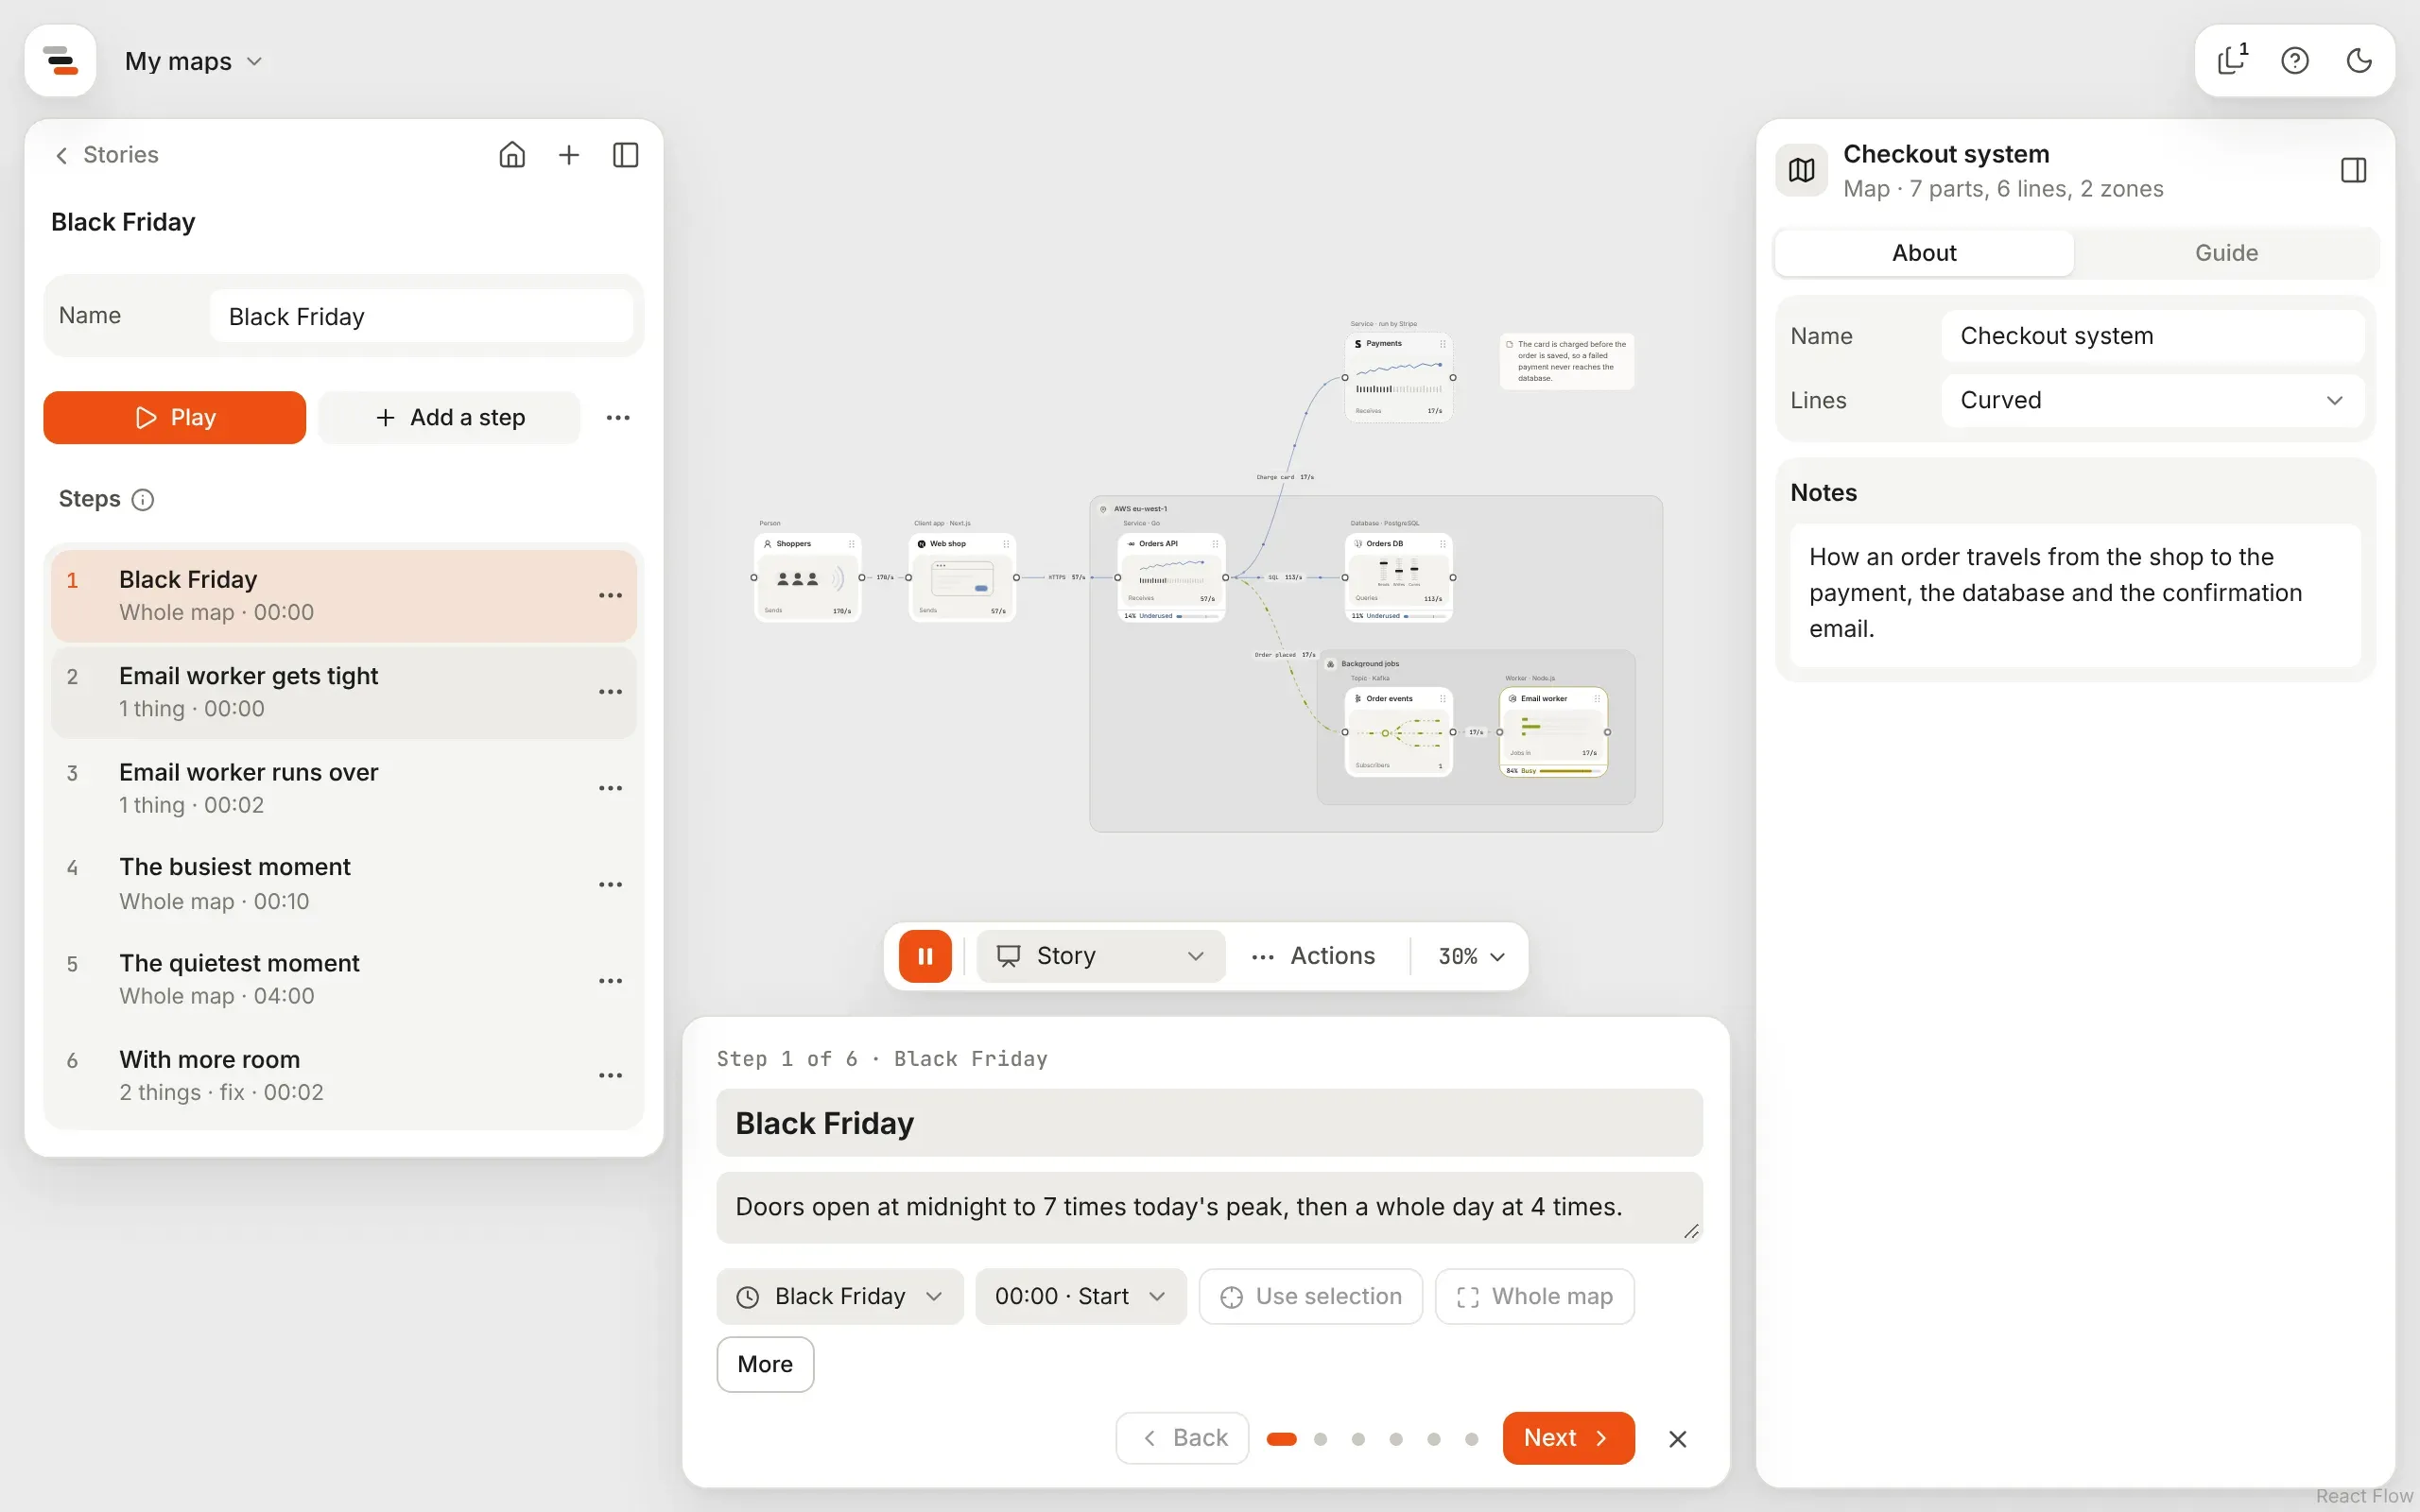
It’s all one step to undo, and a draft to change. The With more room step shows the fixes on that step only: the map itself keeps its numbers.
3. Write it for your audience
Section titled “3. Write it for your audience”The draft’s words say what happens. A newcomer also needs to know why it matters. Pick a step, and type straight into its card below the map: the card is what people see when you present.
For the step where the Email worker gets tight, the draft says what the numbers do. You might write instead:
The email worker is the first to struggle. After every order, we send a confirmation email in the background. On a normal day this worker is already 60% busy, so a rush at midnight pushes it over within two minutes. Shoppers don’t wait for it, so they don’t notice. Their emails just arrive late.
-
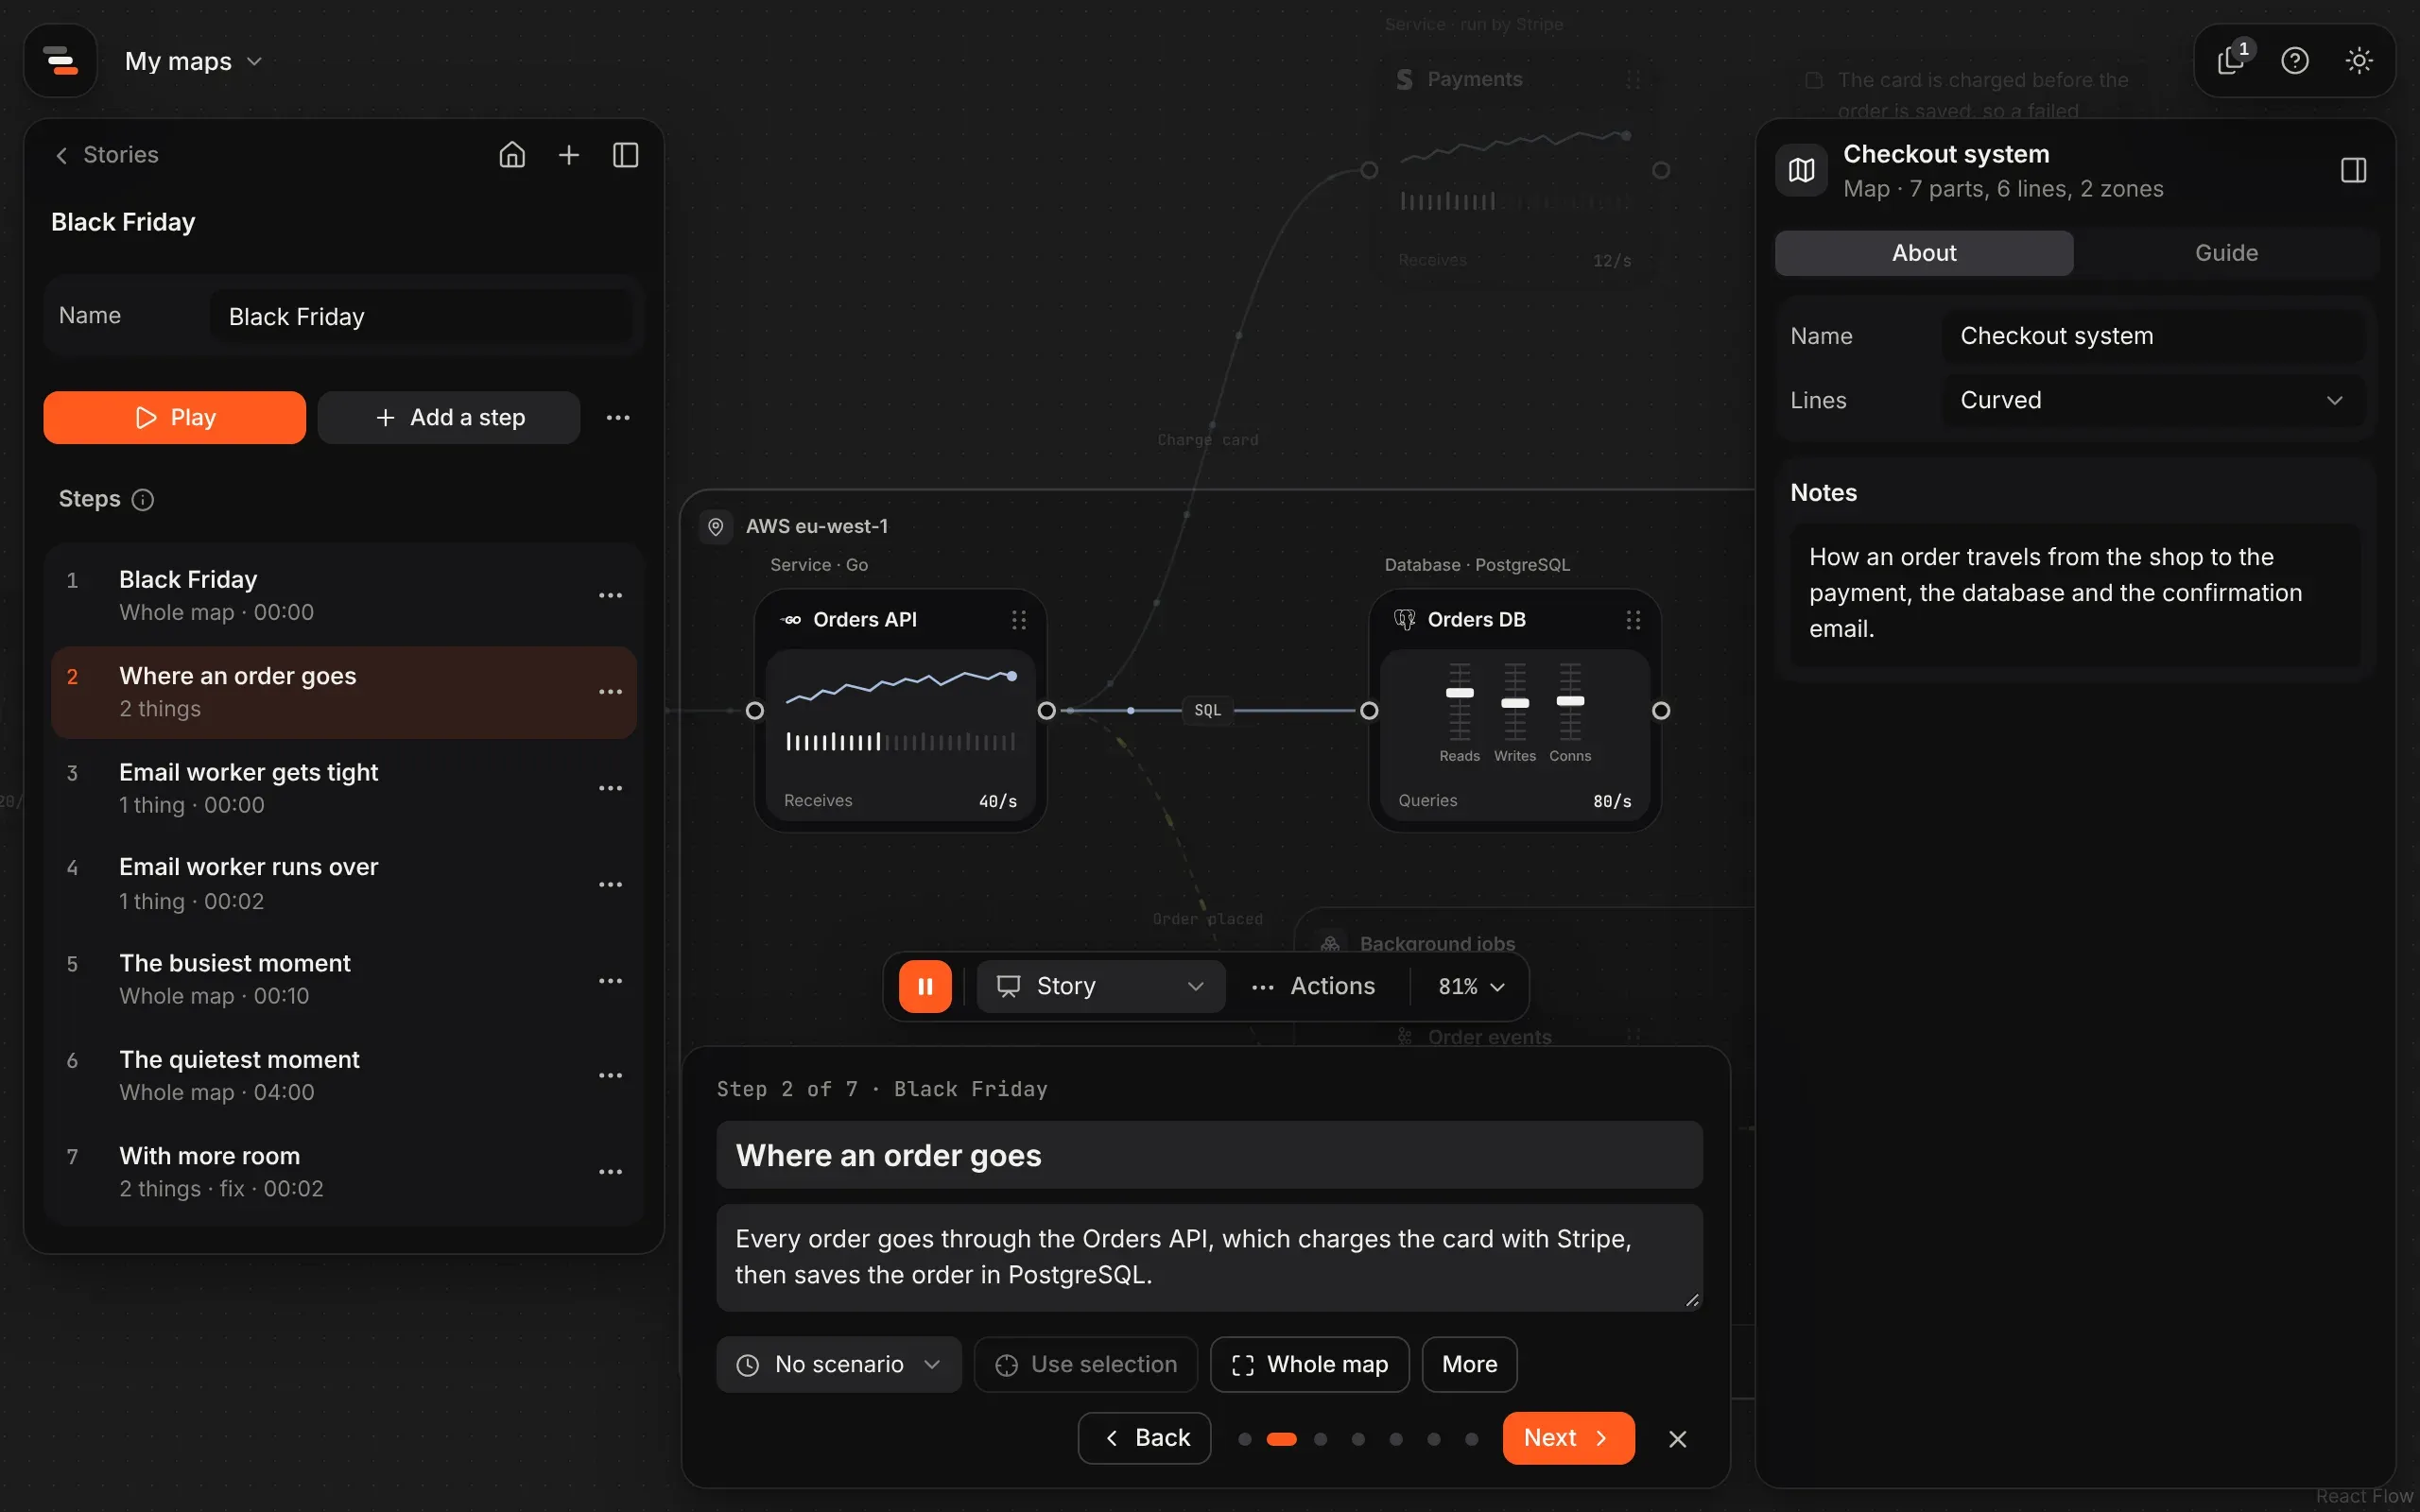
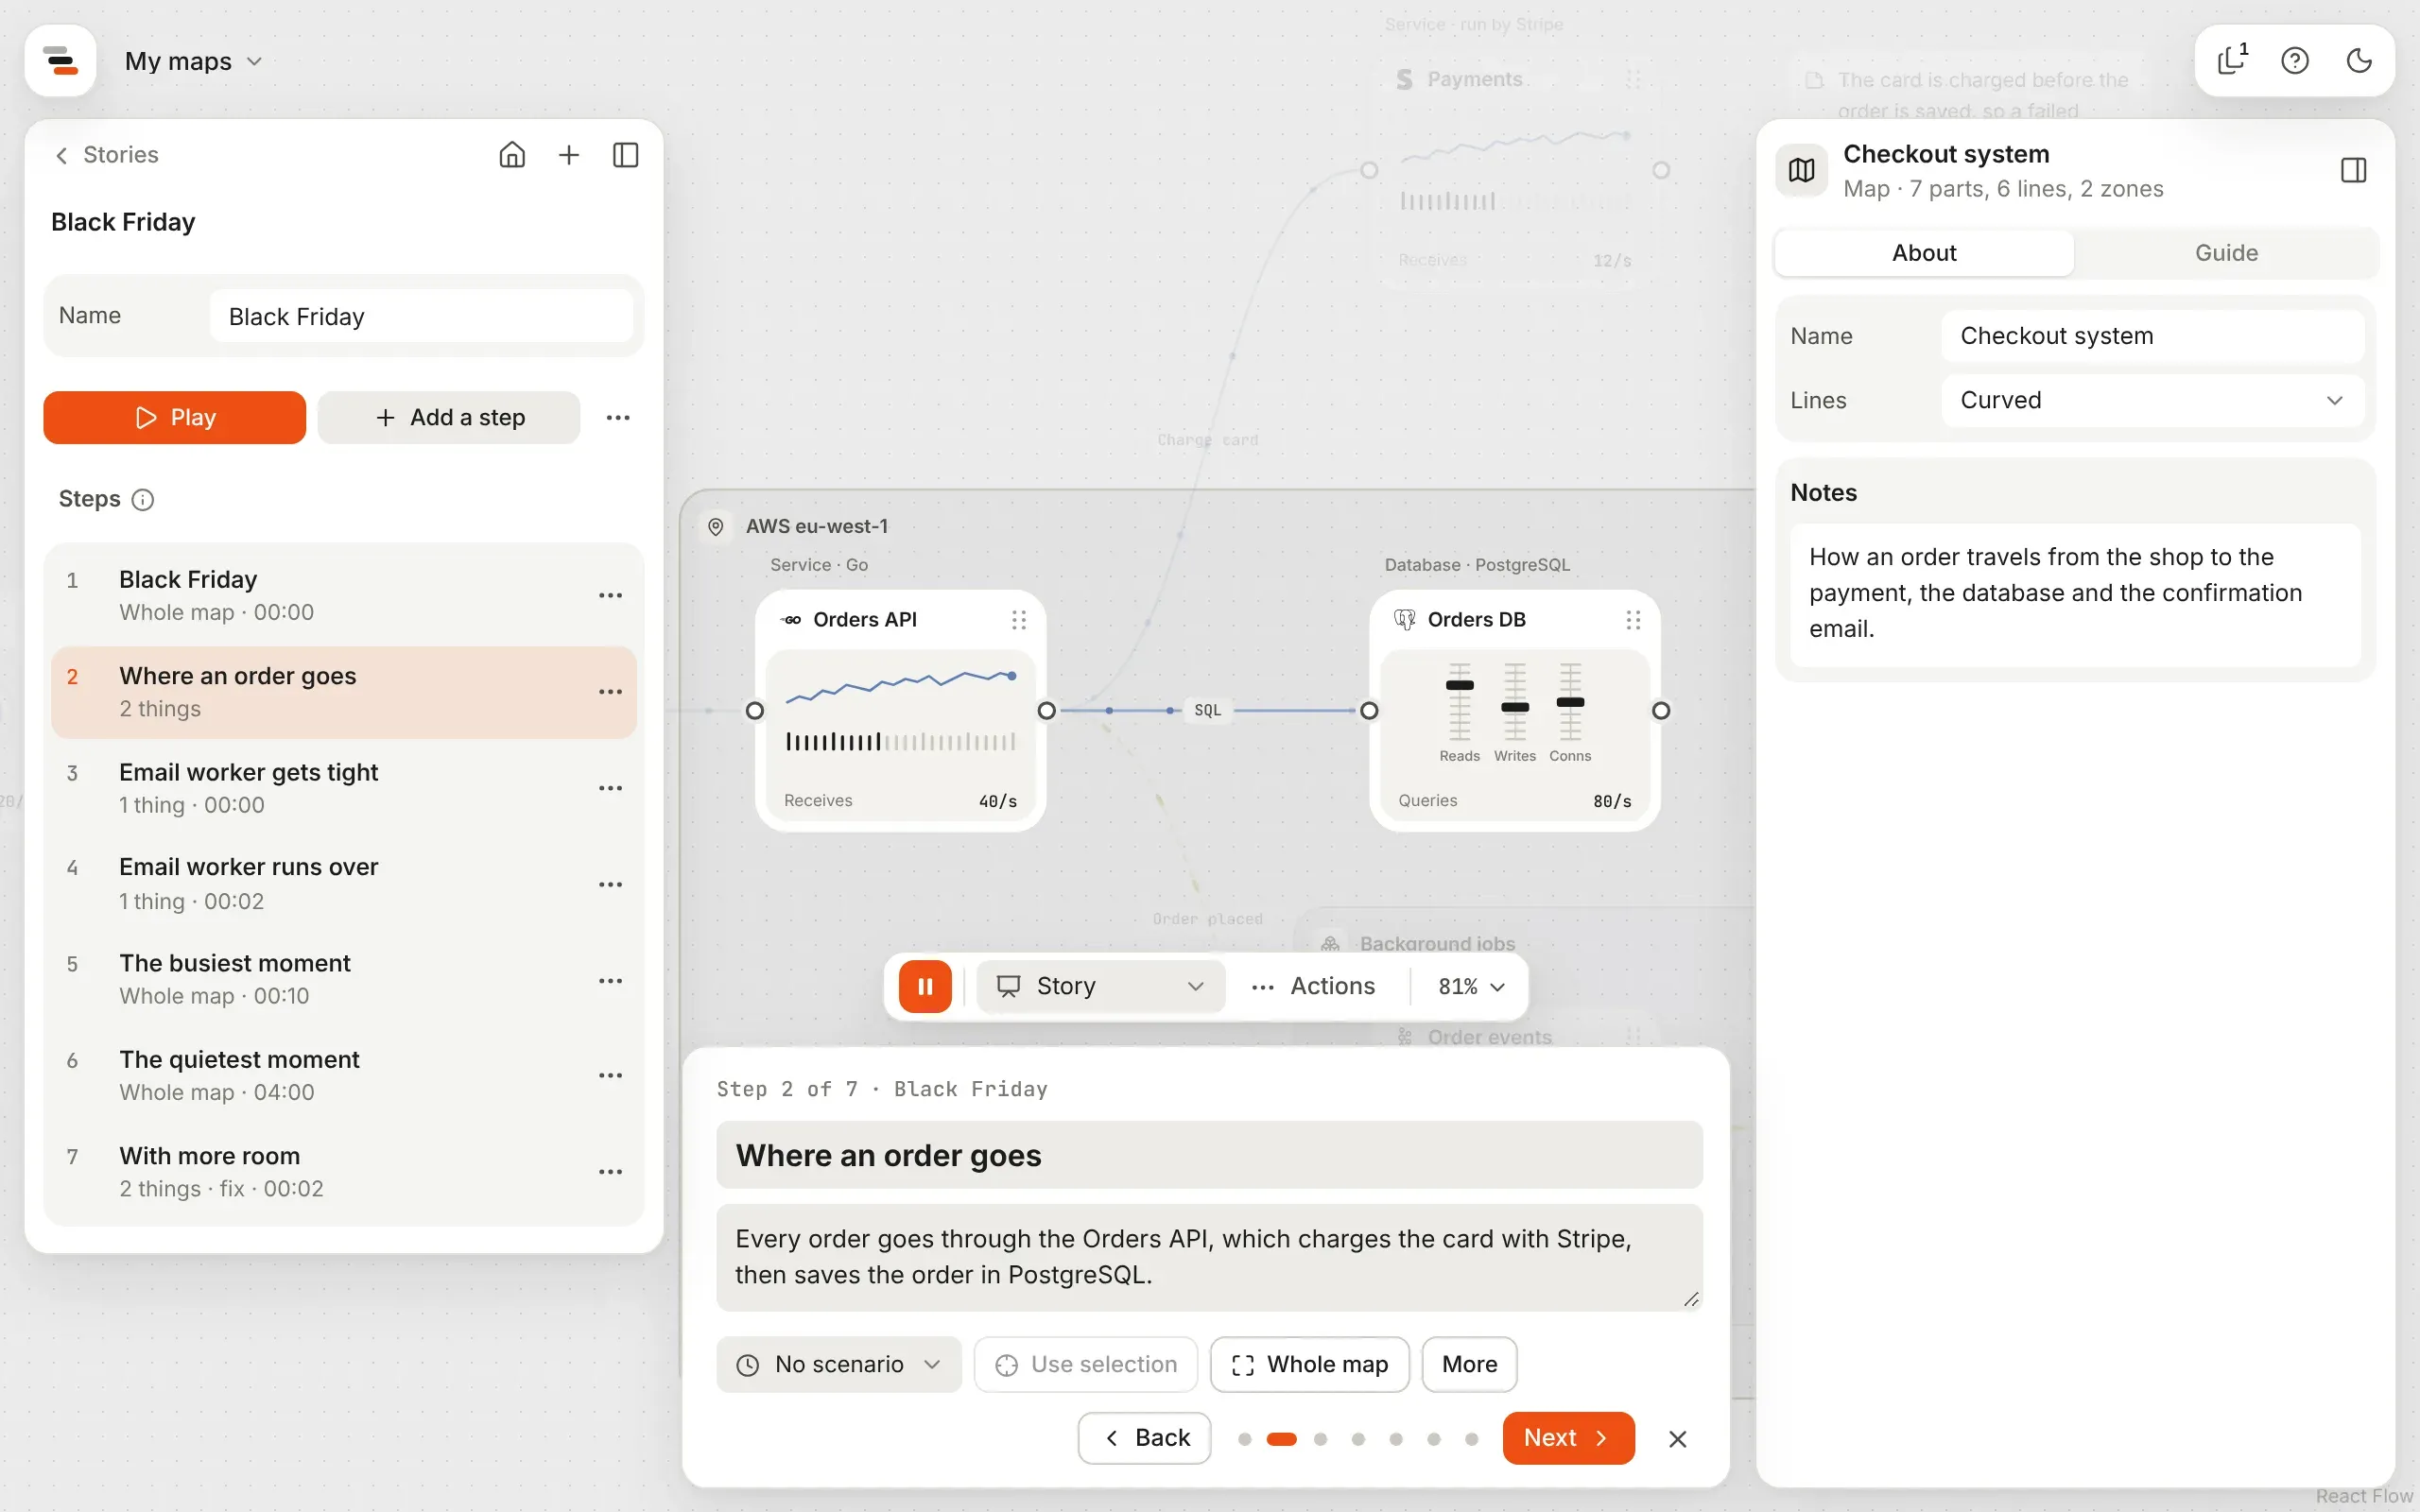
Add a step of your own before the rush. Pick the first step, select Orders API and Orders DB on the canvas, then choose Add a step. It goes after the step you’re on, framing what’s selected.
-
Give it a title such as “Where an order goes”, and a sentence or two: “Every order goes through the Orders API, which charges the card with Stripe, then saves the order in PostgreSQL.”
-
Move steps up and down, or delete them, from their menus.
4. Present it
Section titled “4. Present it”-
Choose View from the mode menu at the foot of the canvas. The map is now read-only, so nothing moves by accident.
-
Choose Story. The steps take the timeline’s place along the foot, and the camera glides to the first one.
-
Move through it with Next and Back, the arrow keys, or a presentation clicker (they send Page Up and Page Down). Esc leaves the story.
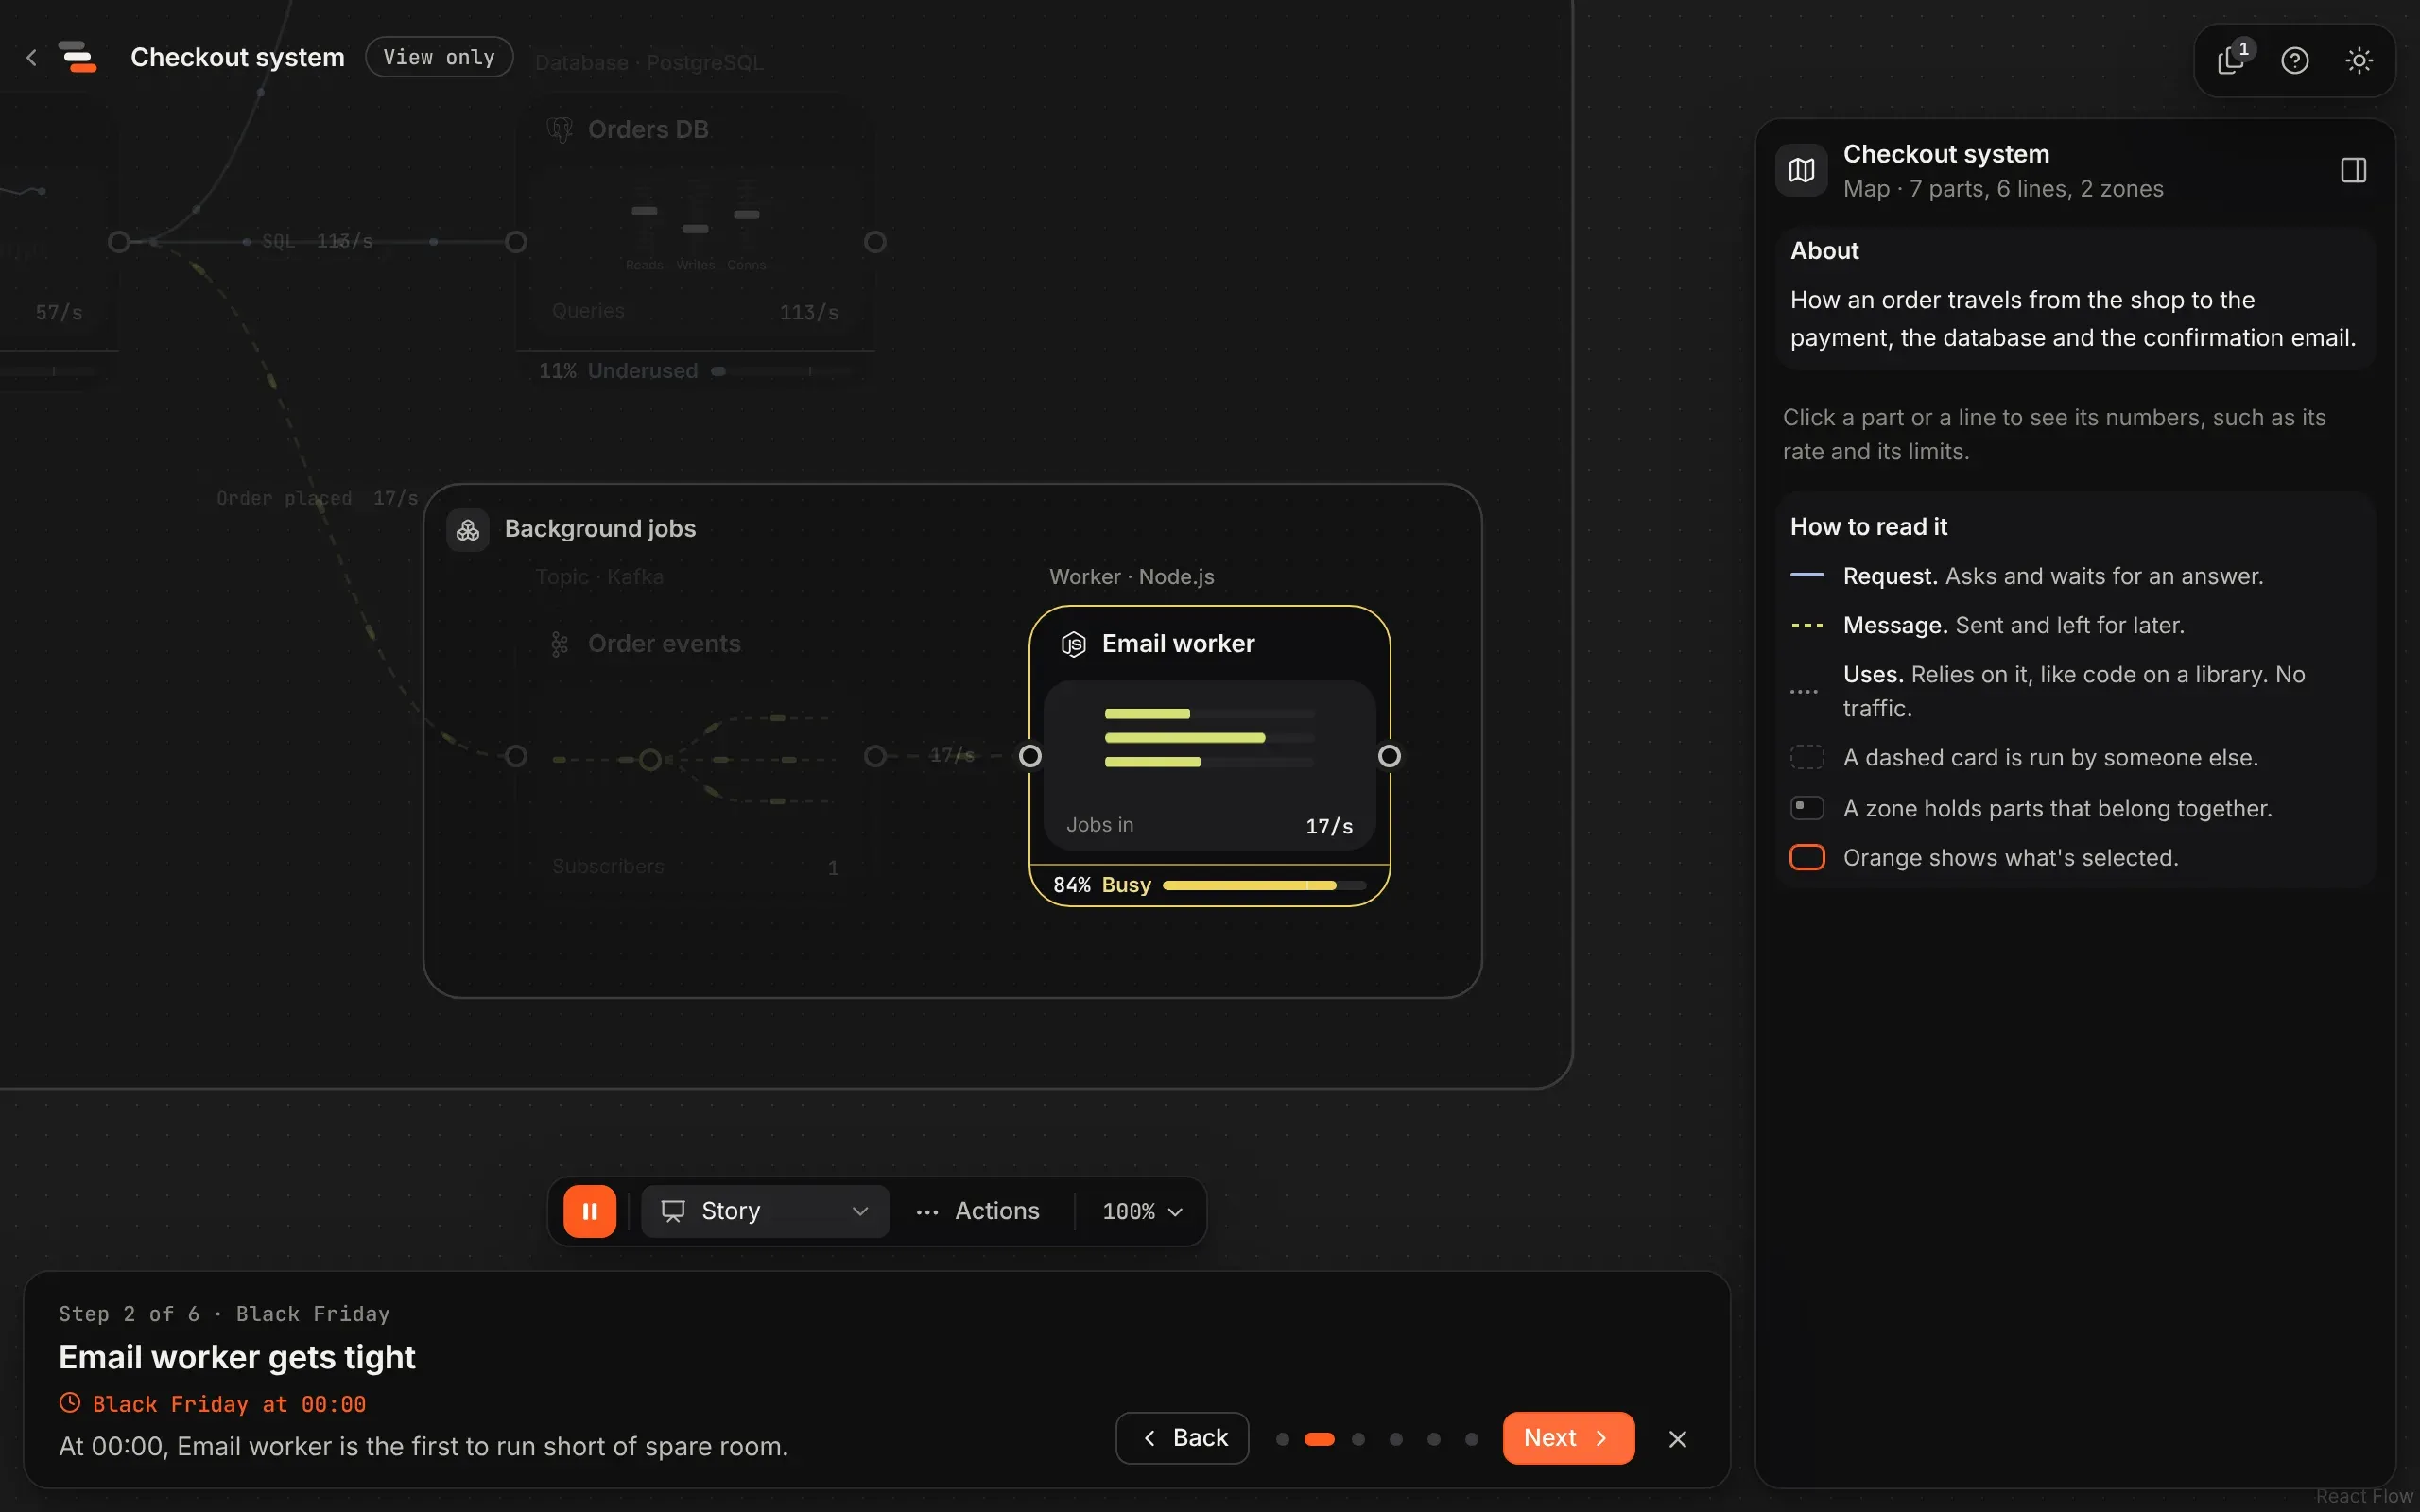
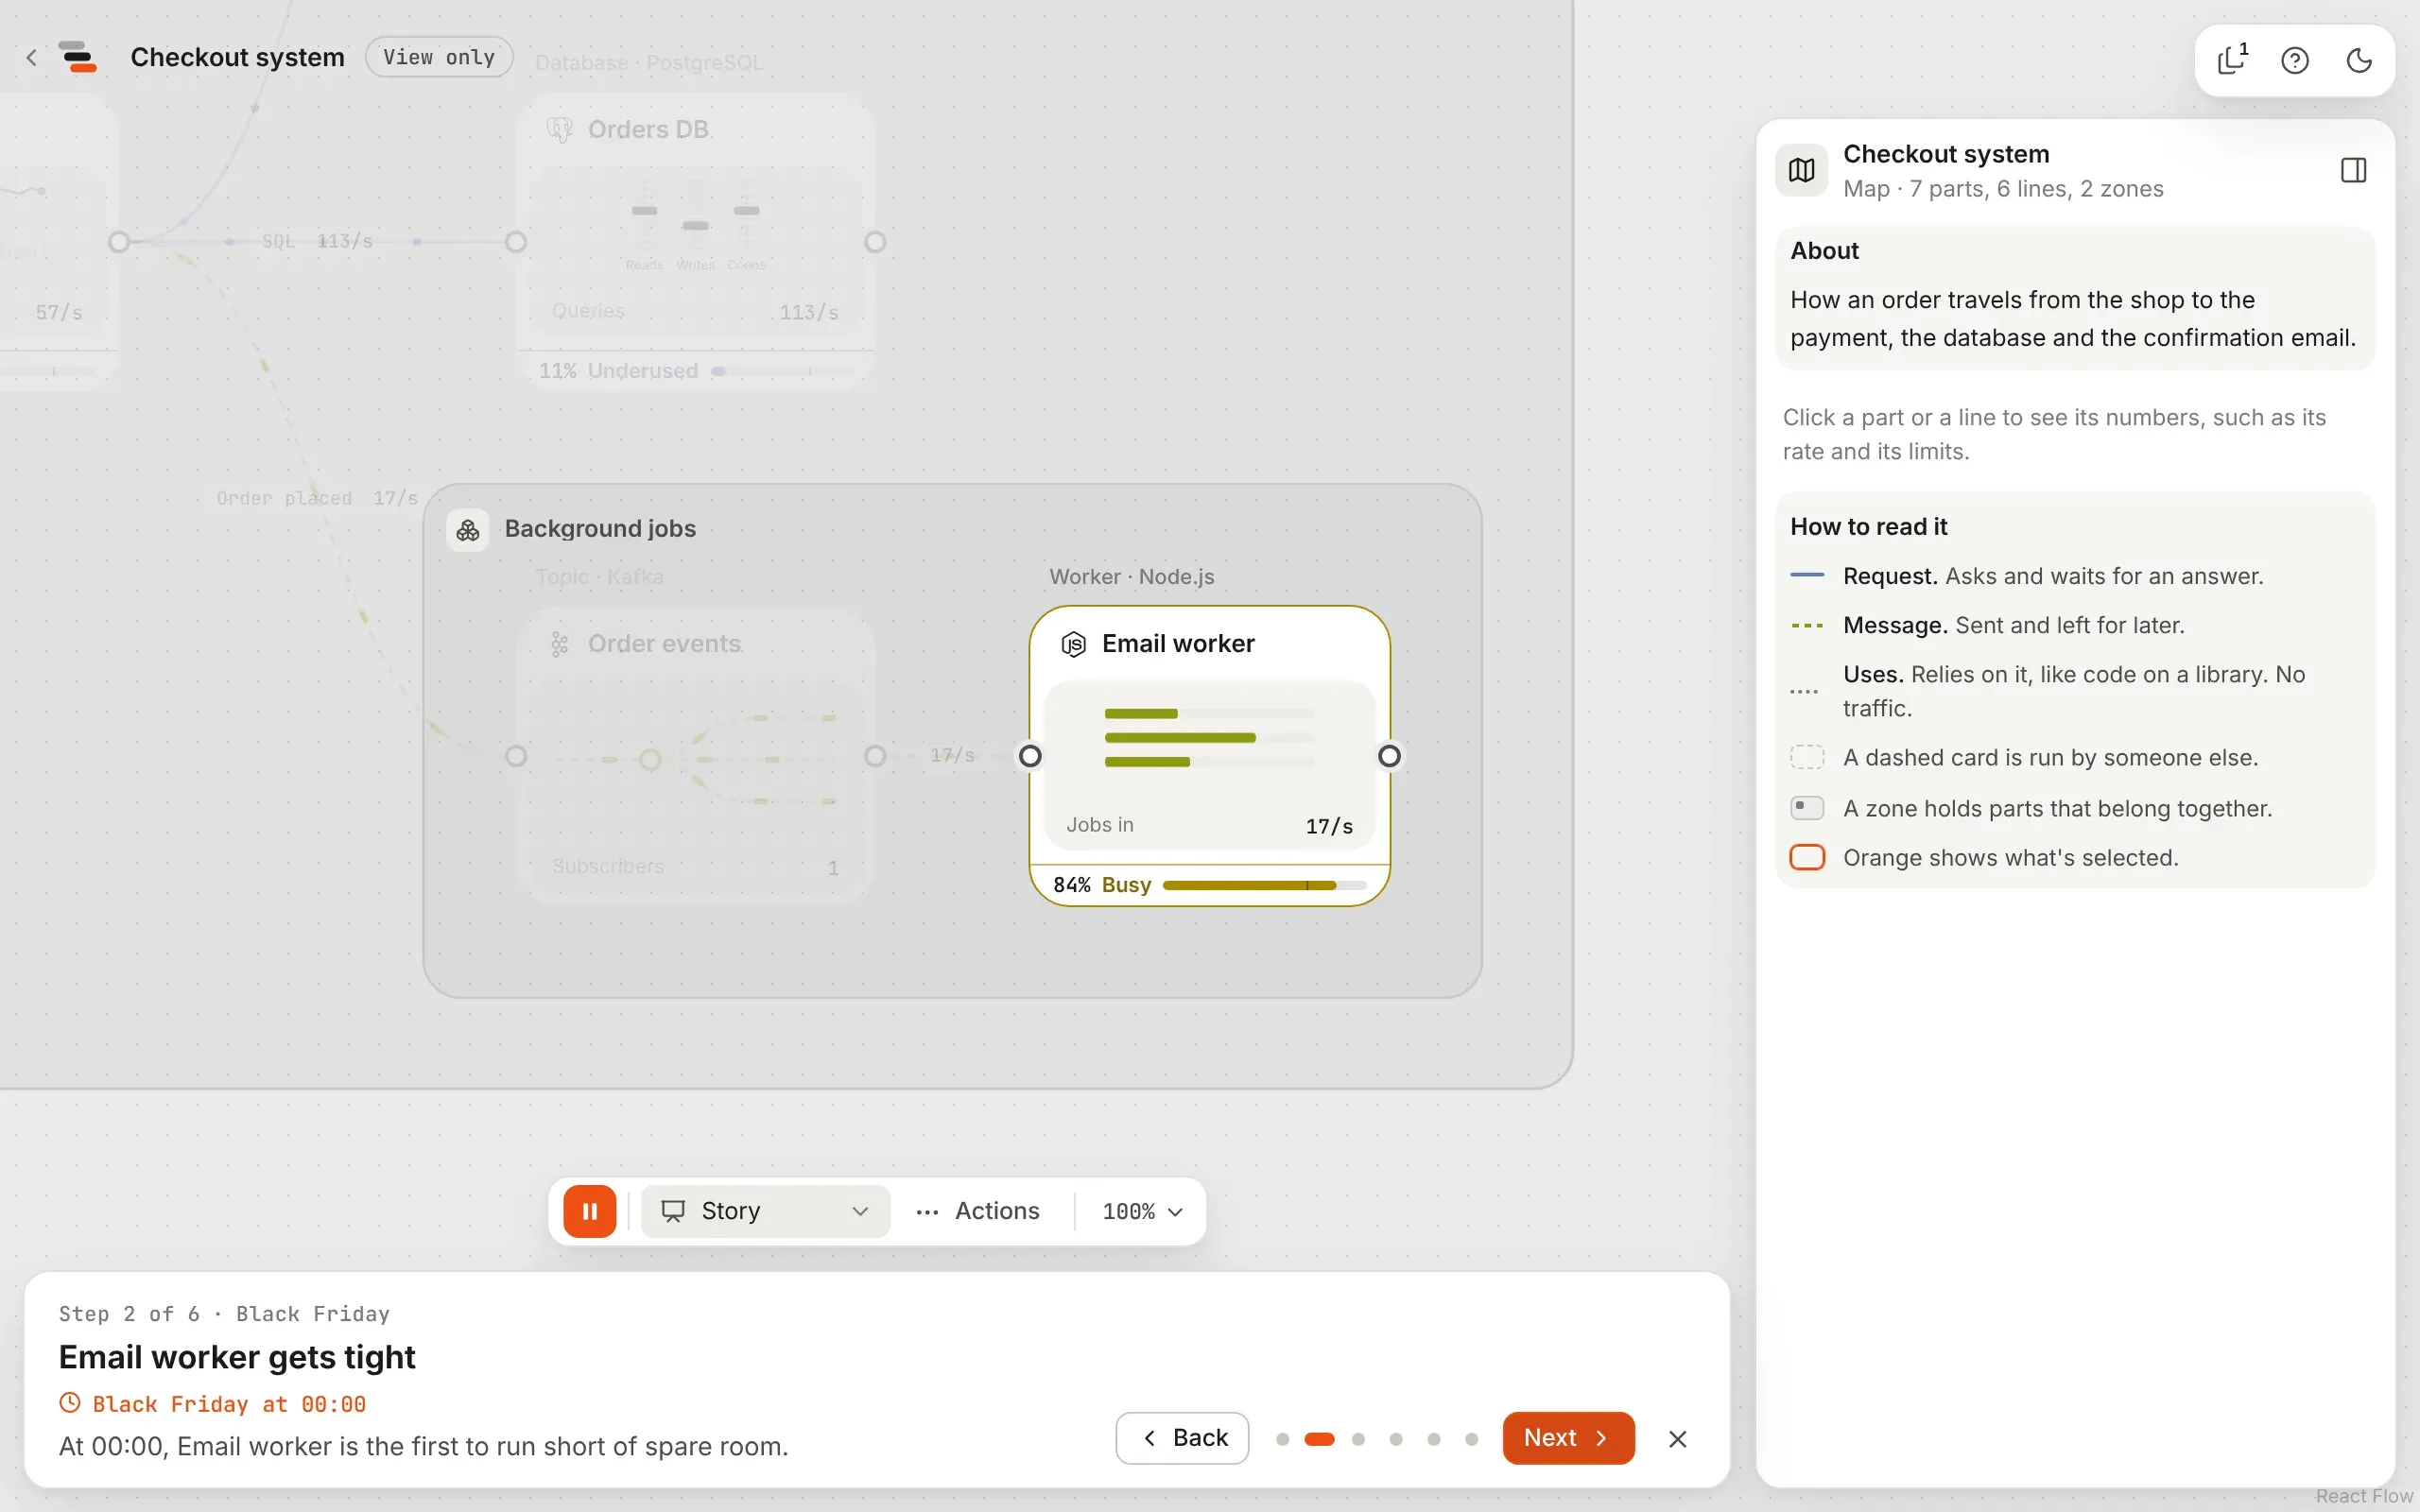
Every step is the live map, not a picture, so anyone can stop and ask “what’s that?”, and you can select it and show them.
5. Send it
Section titled “5. Send it”Choose Share a link… from the Actions menu. The link carries the map with its stories and saved scenarios, so whoever opens it can play the story at their own pace and save a copy. They don’t need an account.
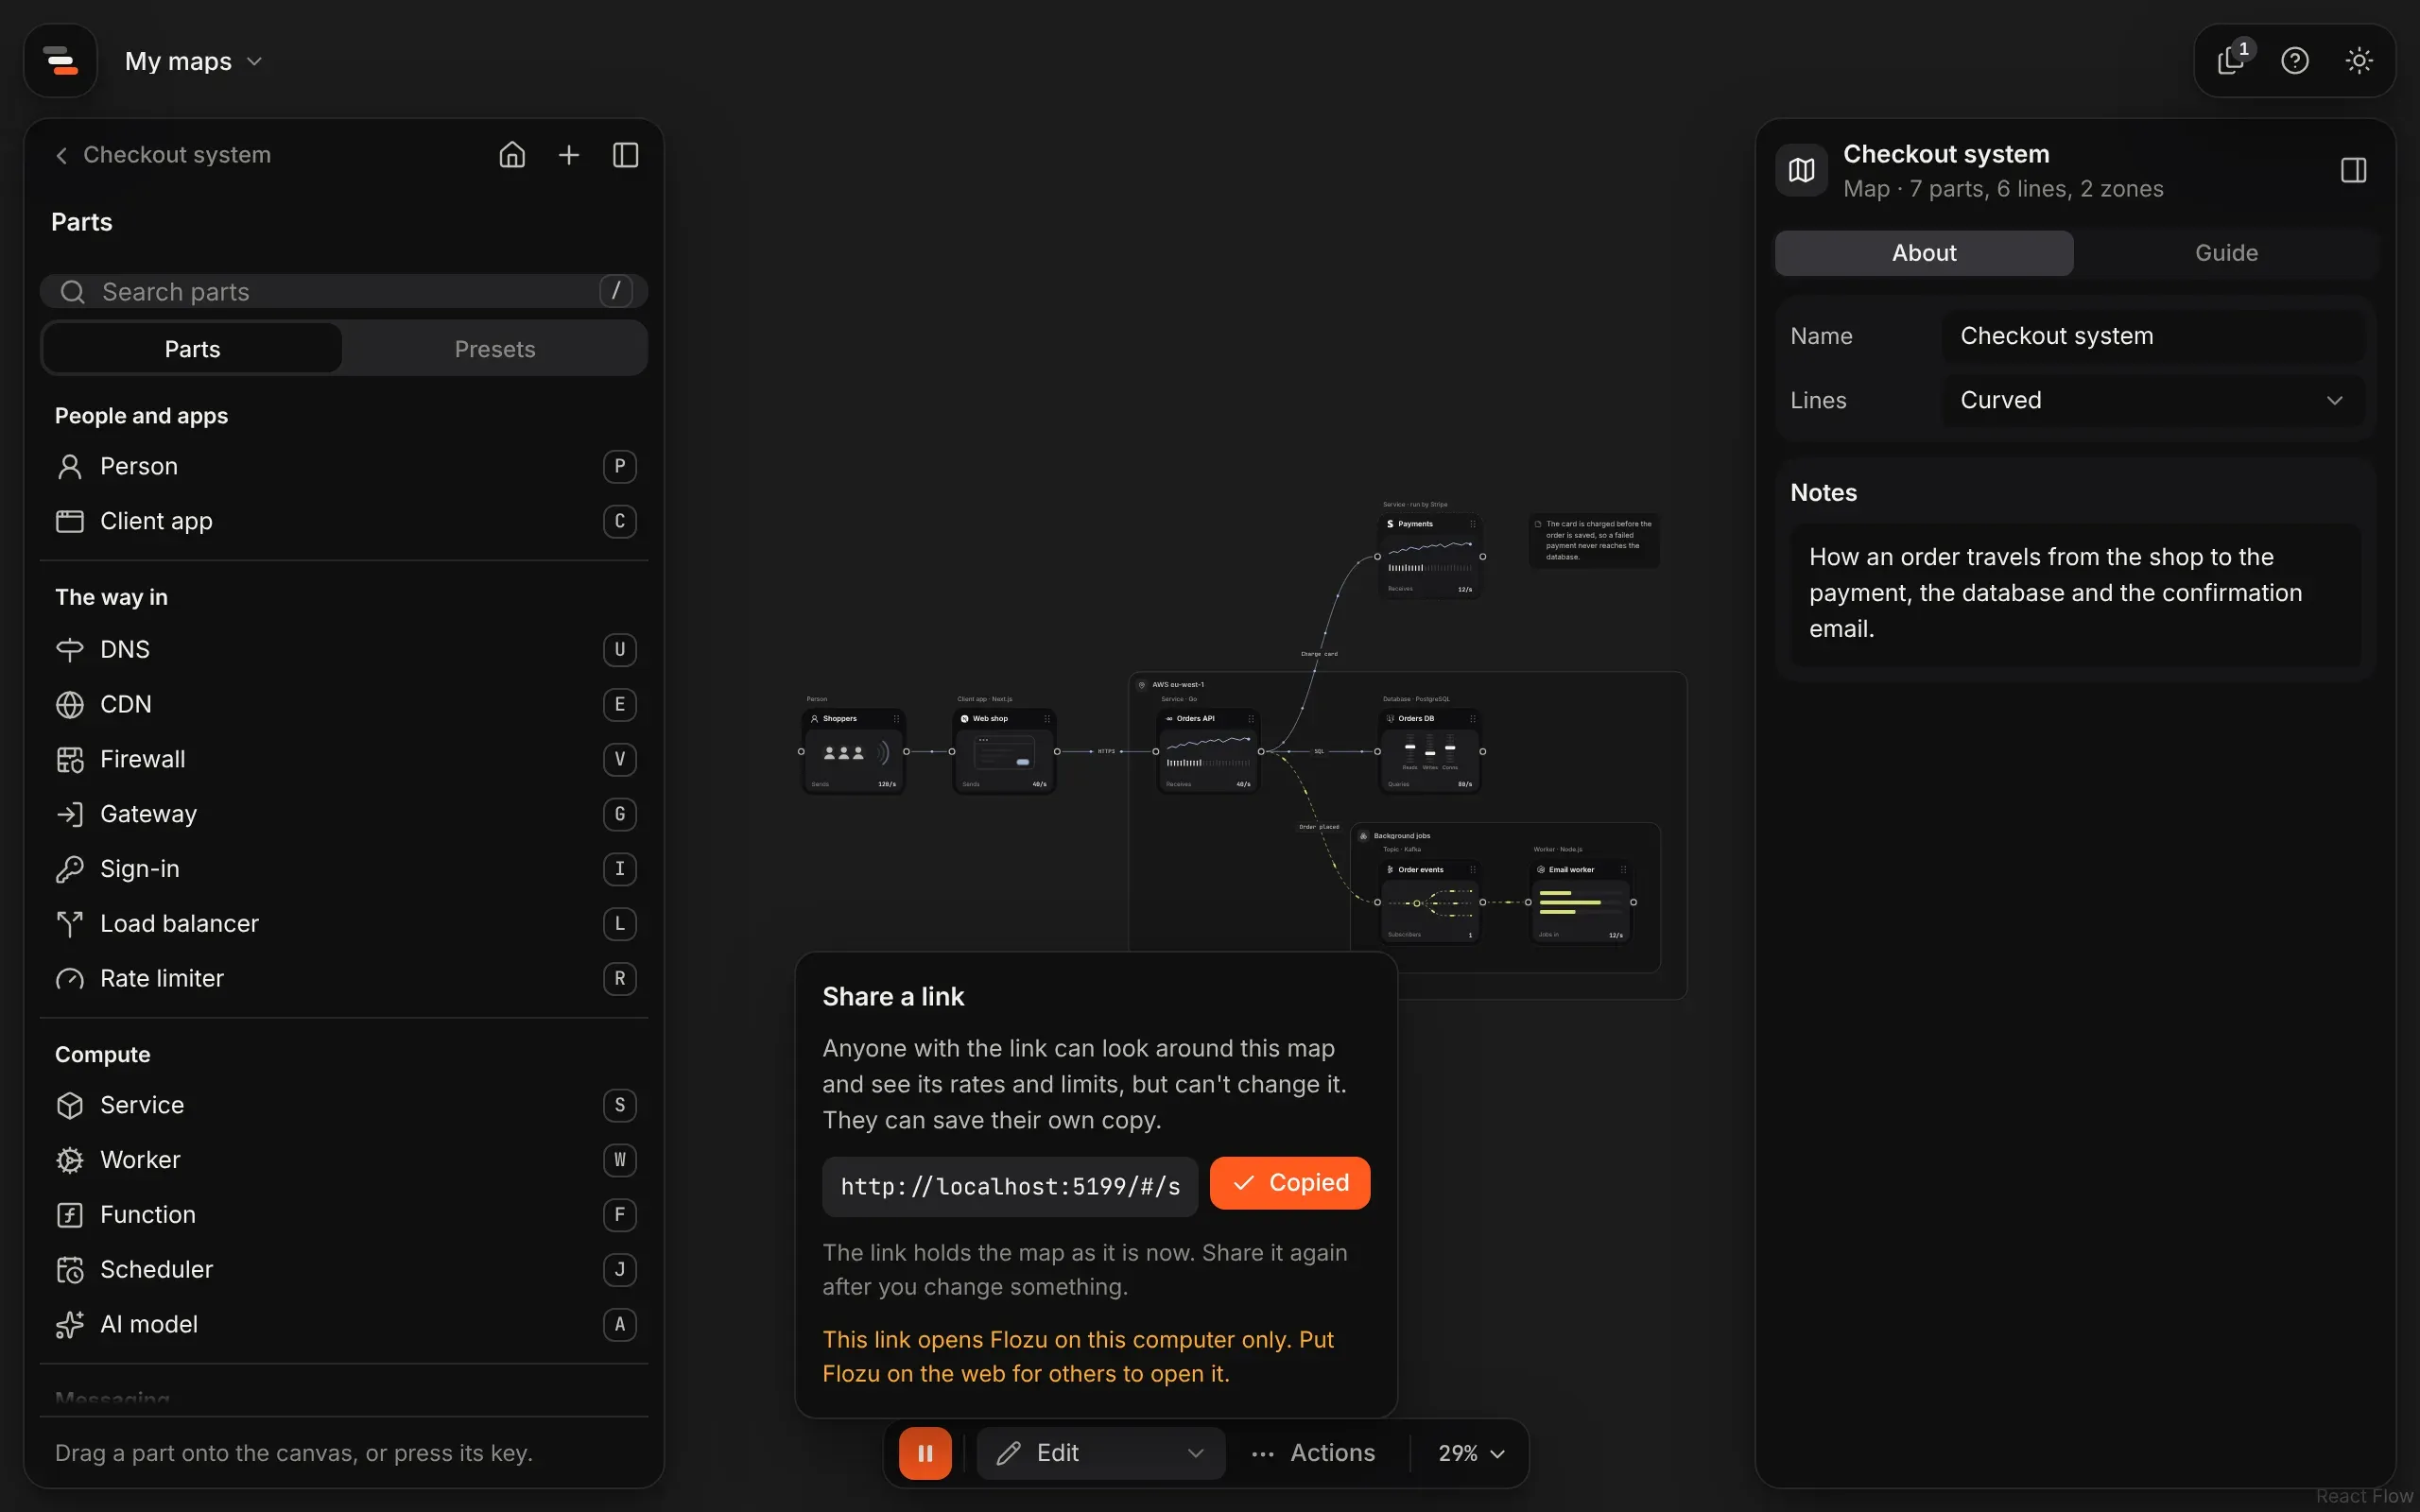
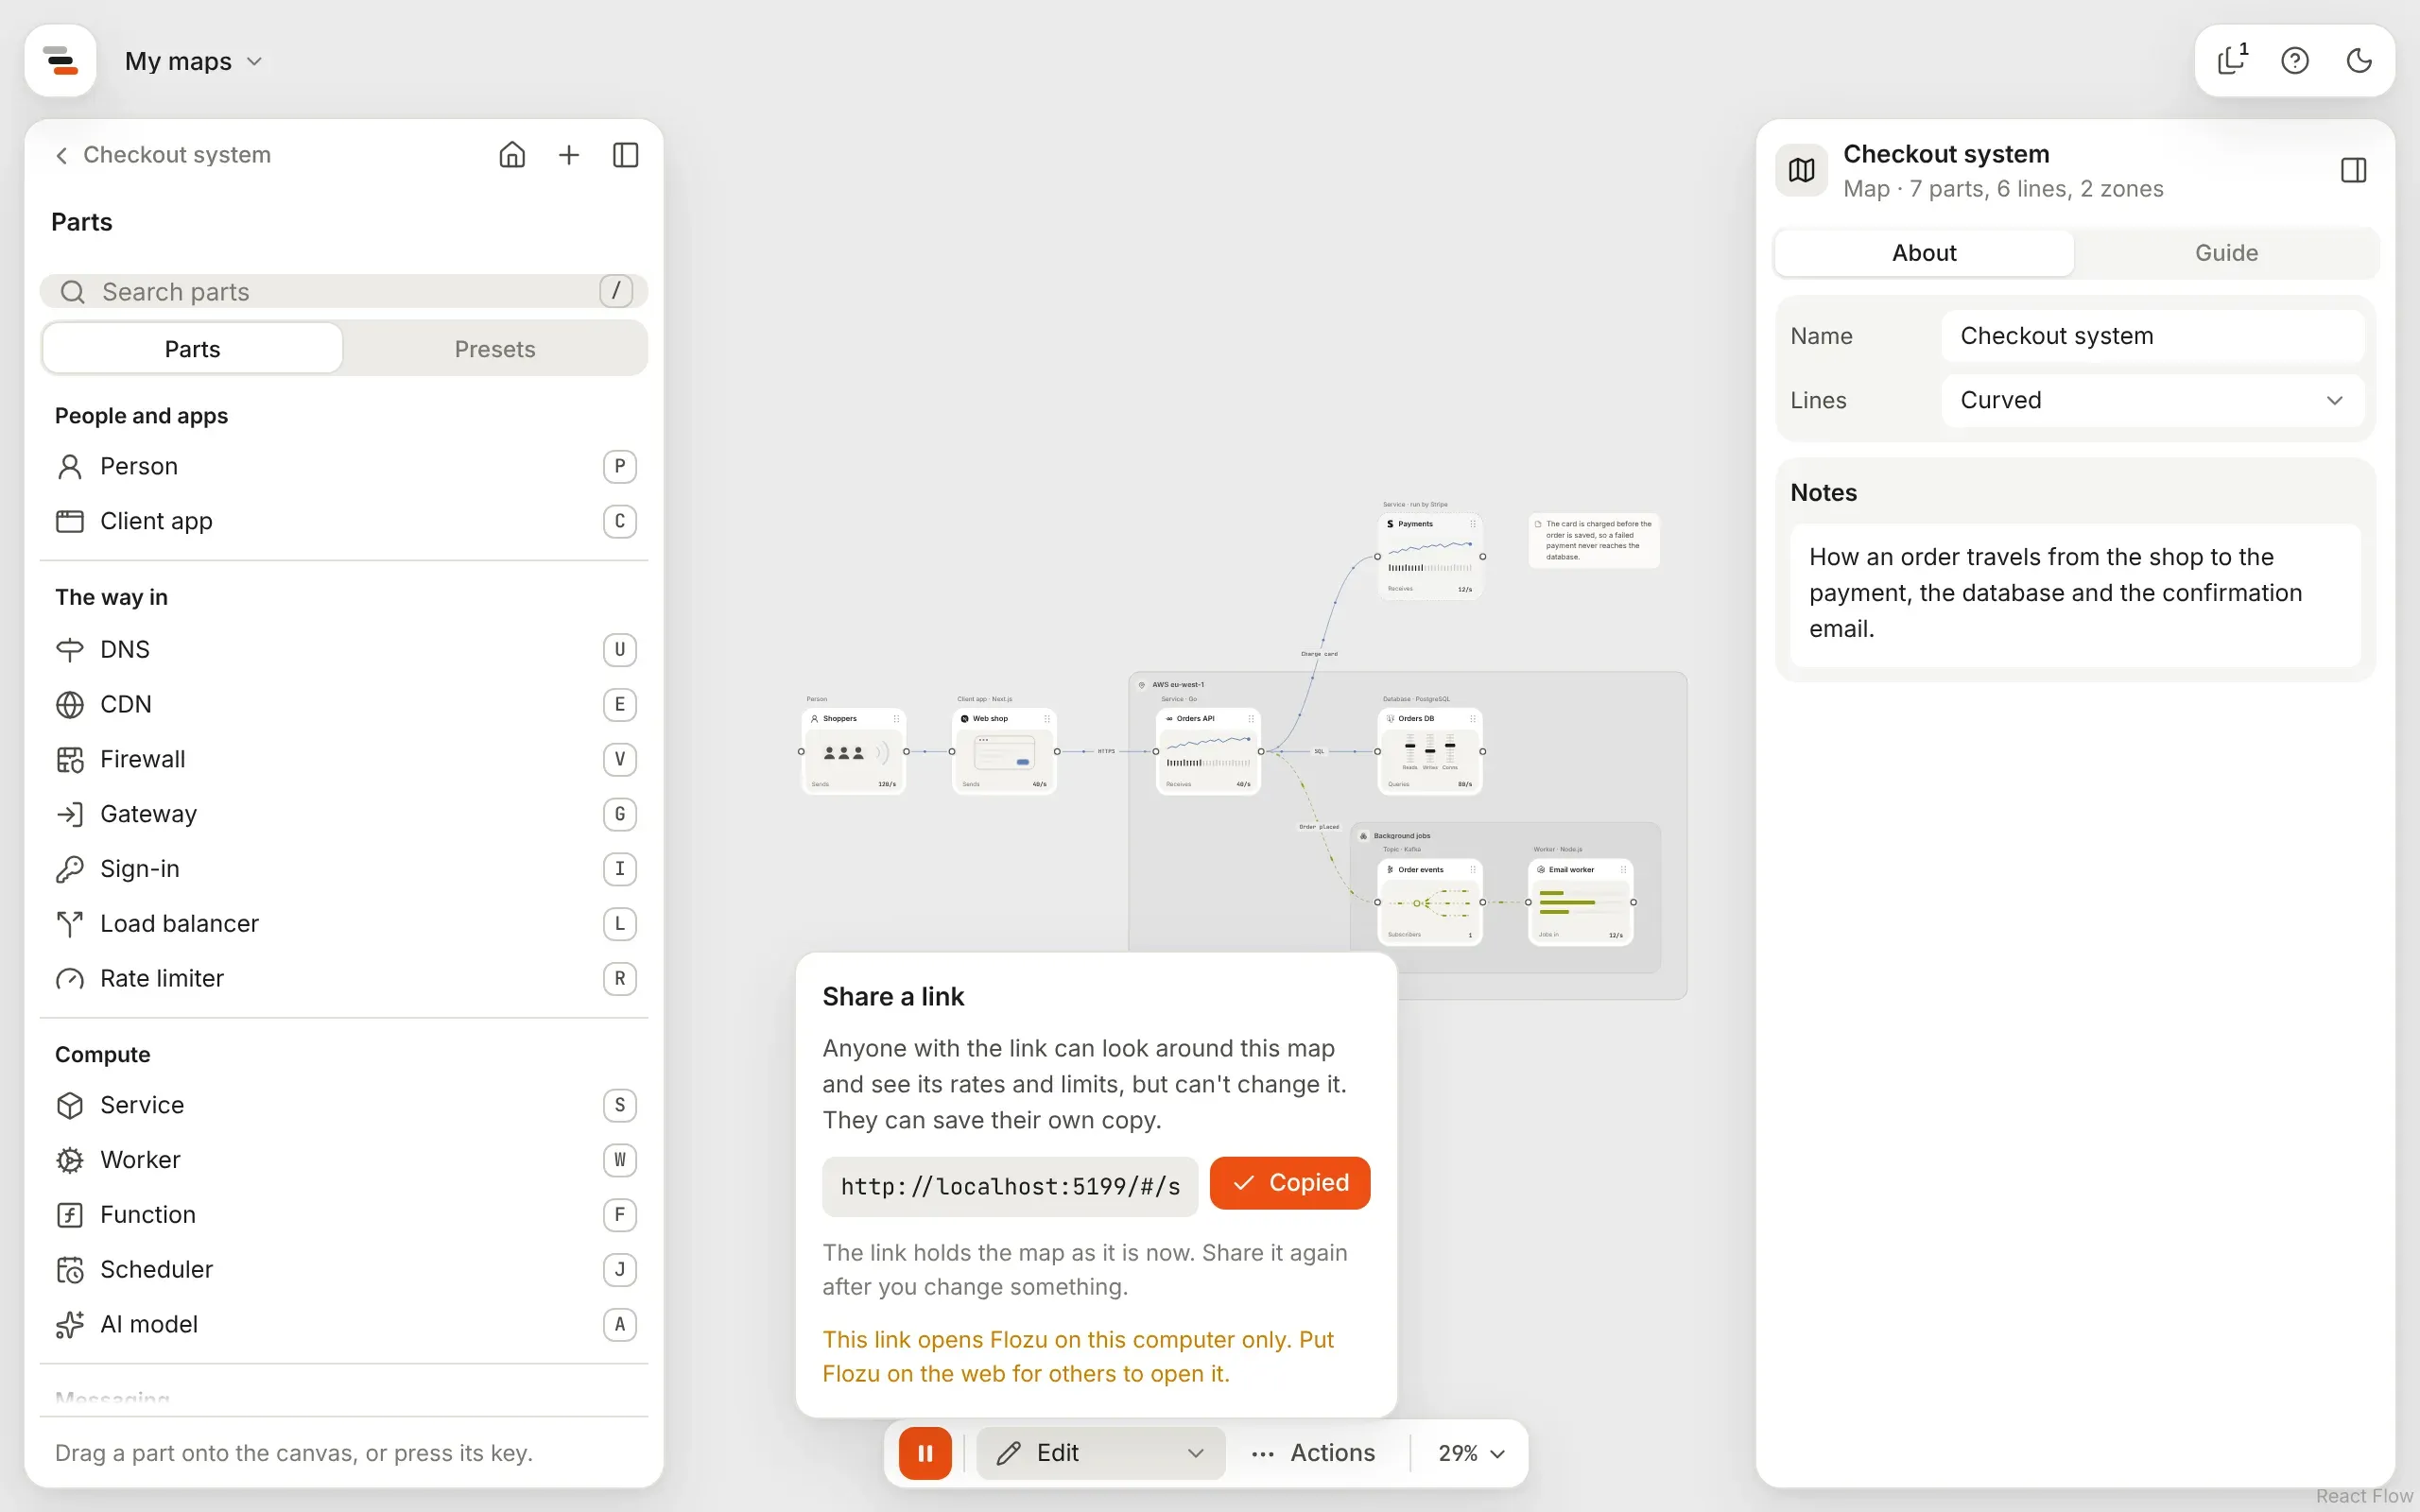
A link holds the map as it is when you make it. Change the story later, and make a new link.
What you learned
Section titled “What you learned”- A story from a scenario gives you a first draft in one click, ordered by what happens.
- The card is the slide. What you type on a step is exactly what your audience reads.
- A share link carries stories, so the walkthrough works without you in the room.
- Make the case for a fix adds a step that compares the map before and after a change.
- Stories covers every part of a step, and showing parts differently on one step.
- Presenting and share links covers what a link holds and what it leaves out.