

Failure drills
What if the database goes down at the evening peak? What if a whole cloud region goes dark for half an hour? A failure drill takes it down in a scenario, plays it through, and shows what fails, what takes over, how many people notice, and what to change so they don’t next time.
Try it
Section titled “Try it”On the Checkout system template:
-
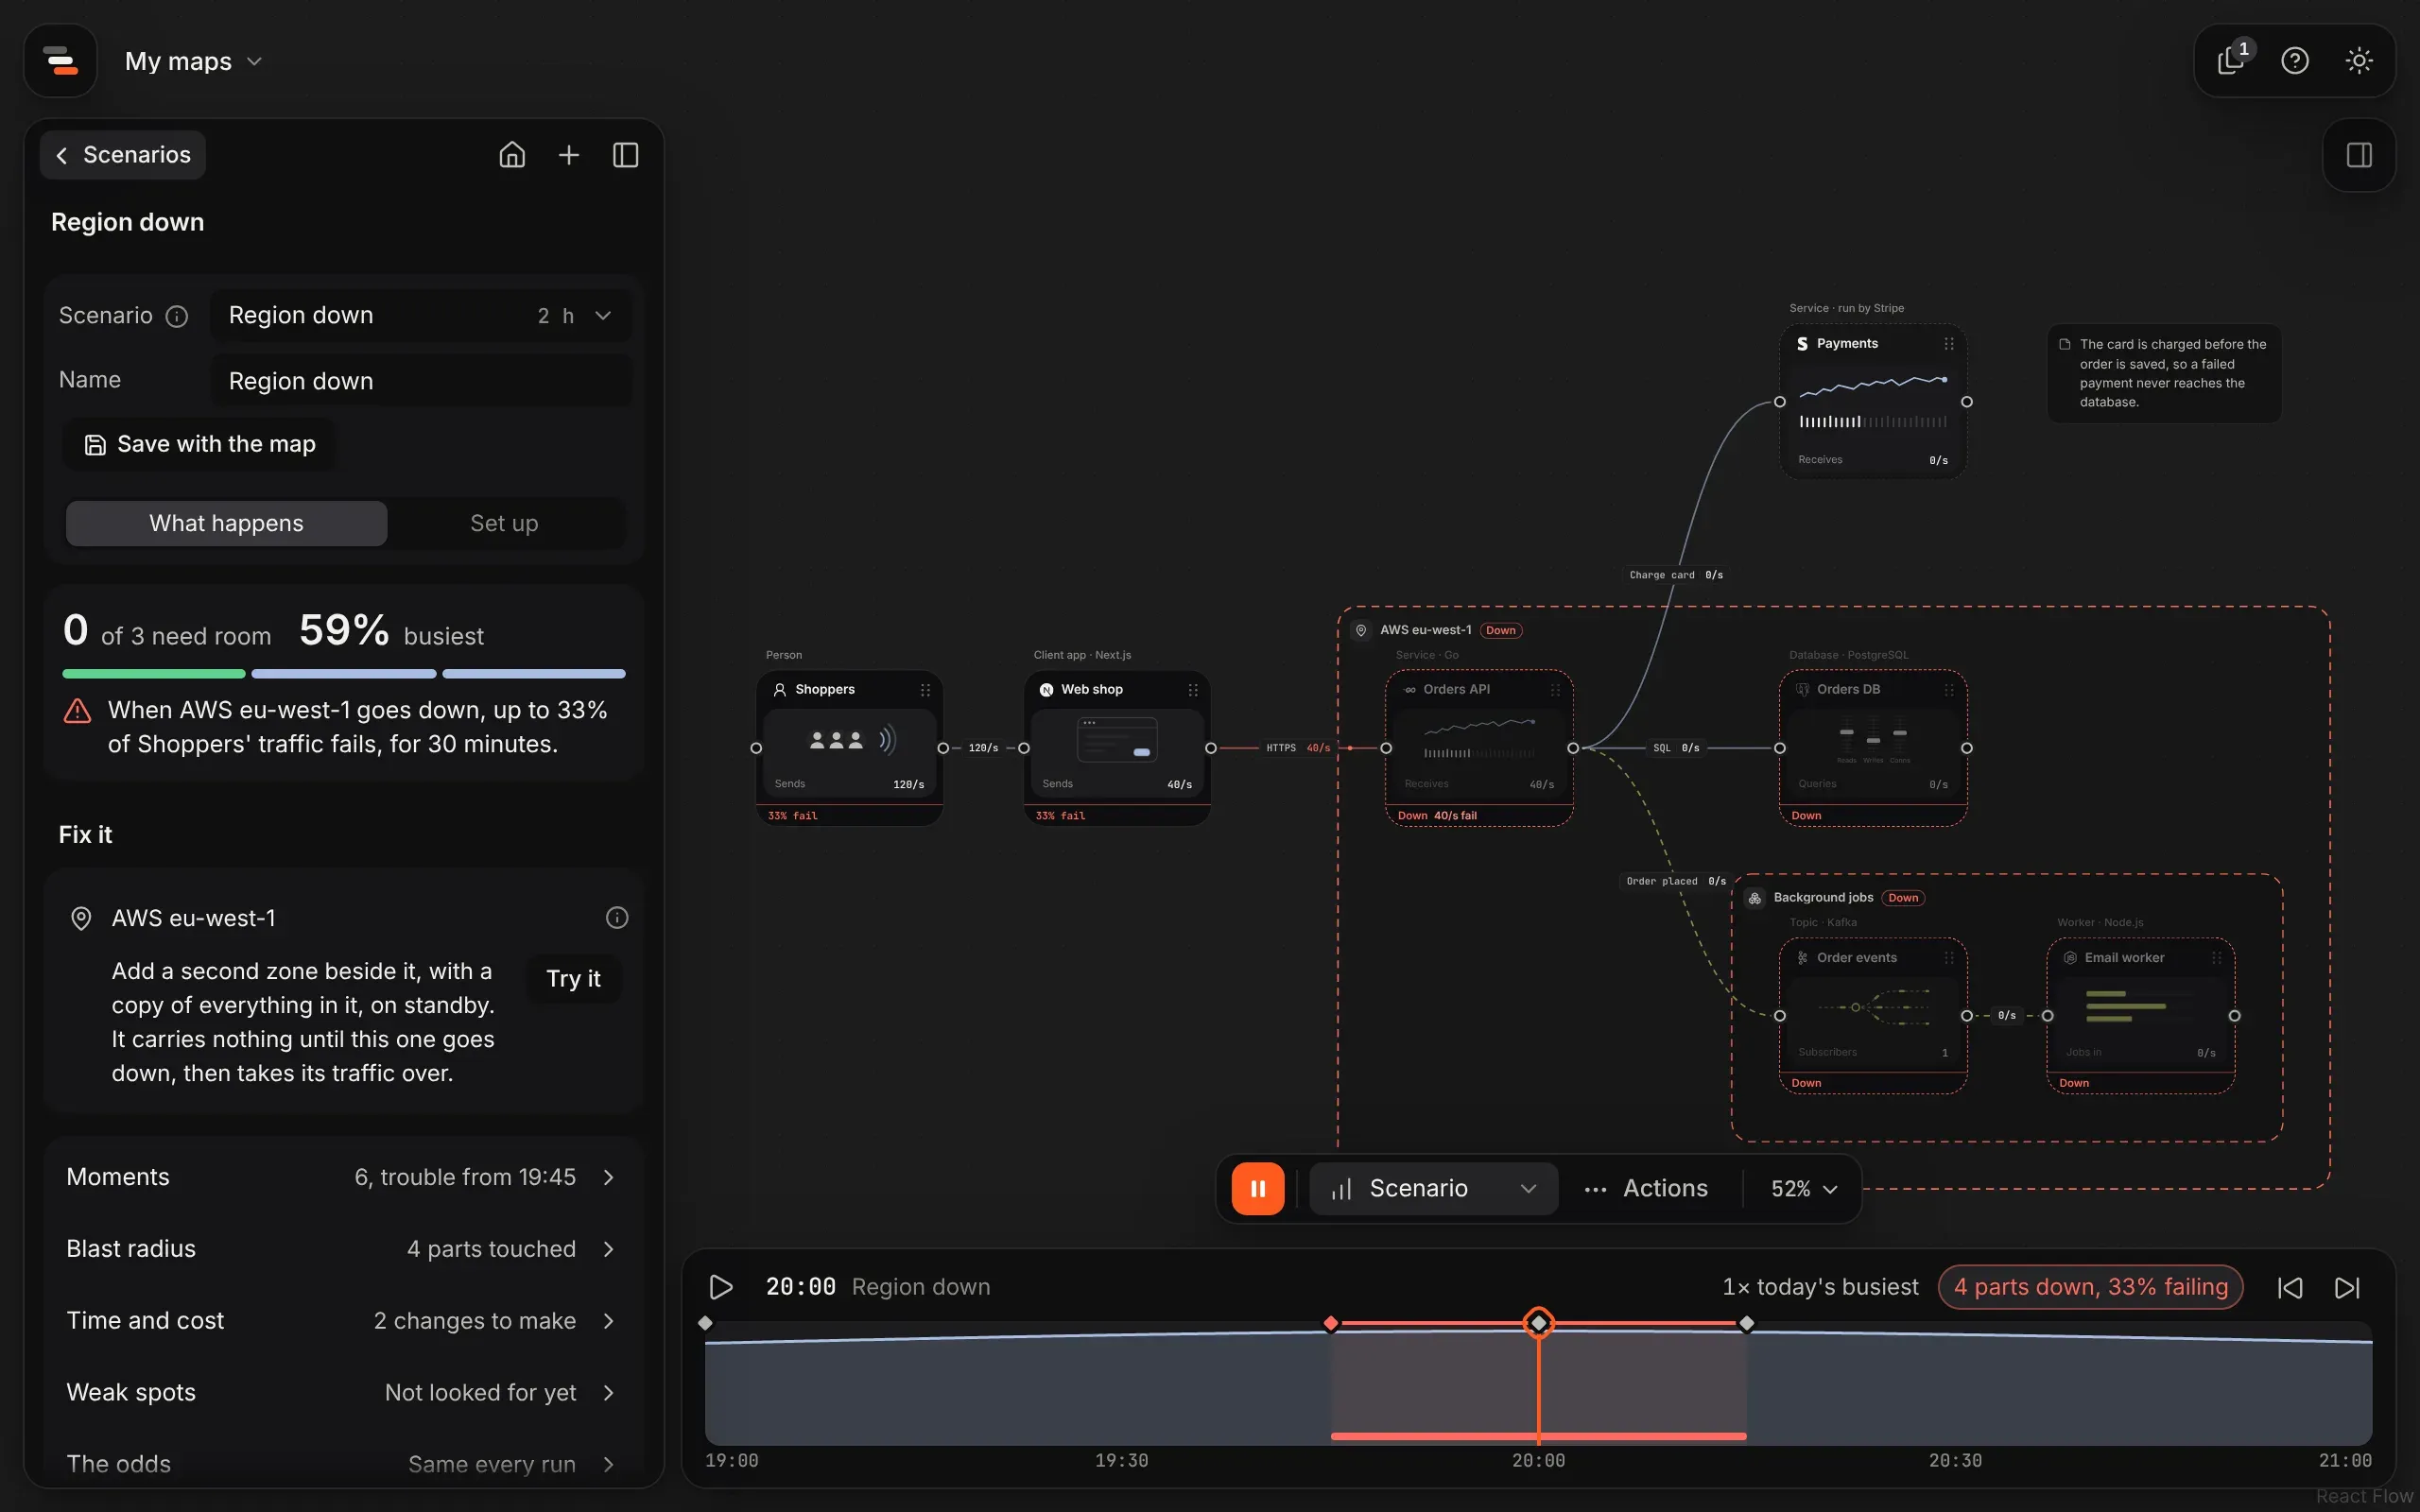
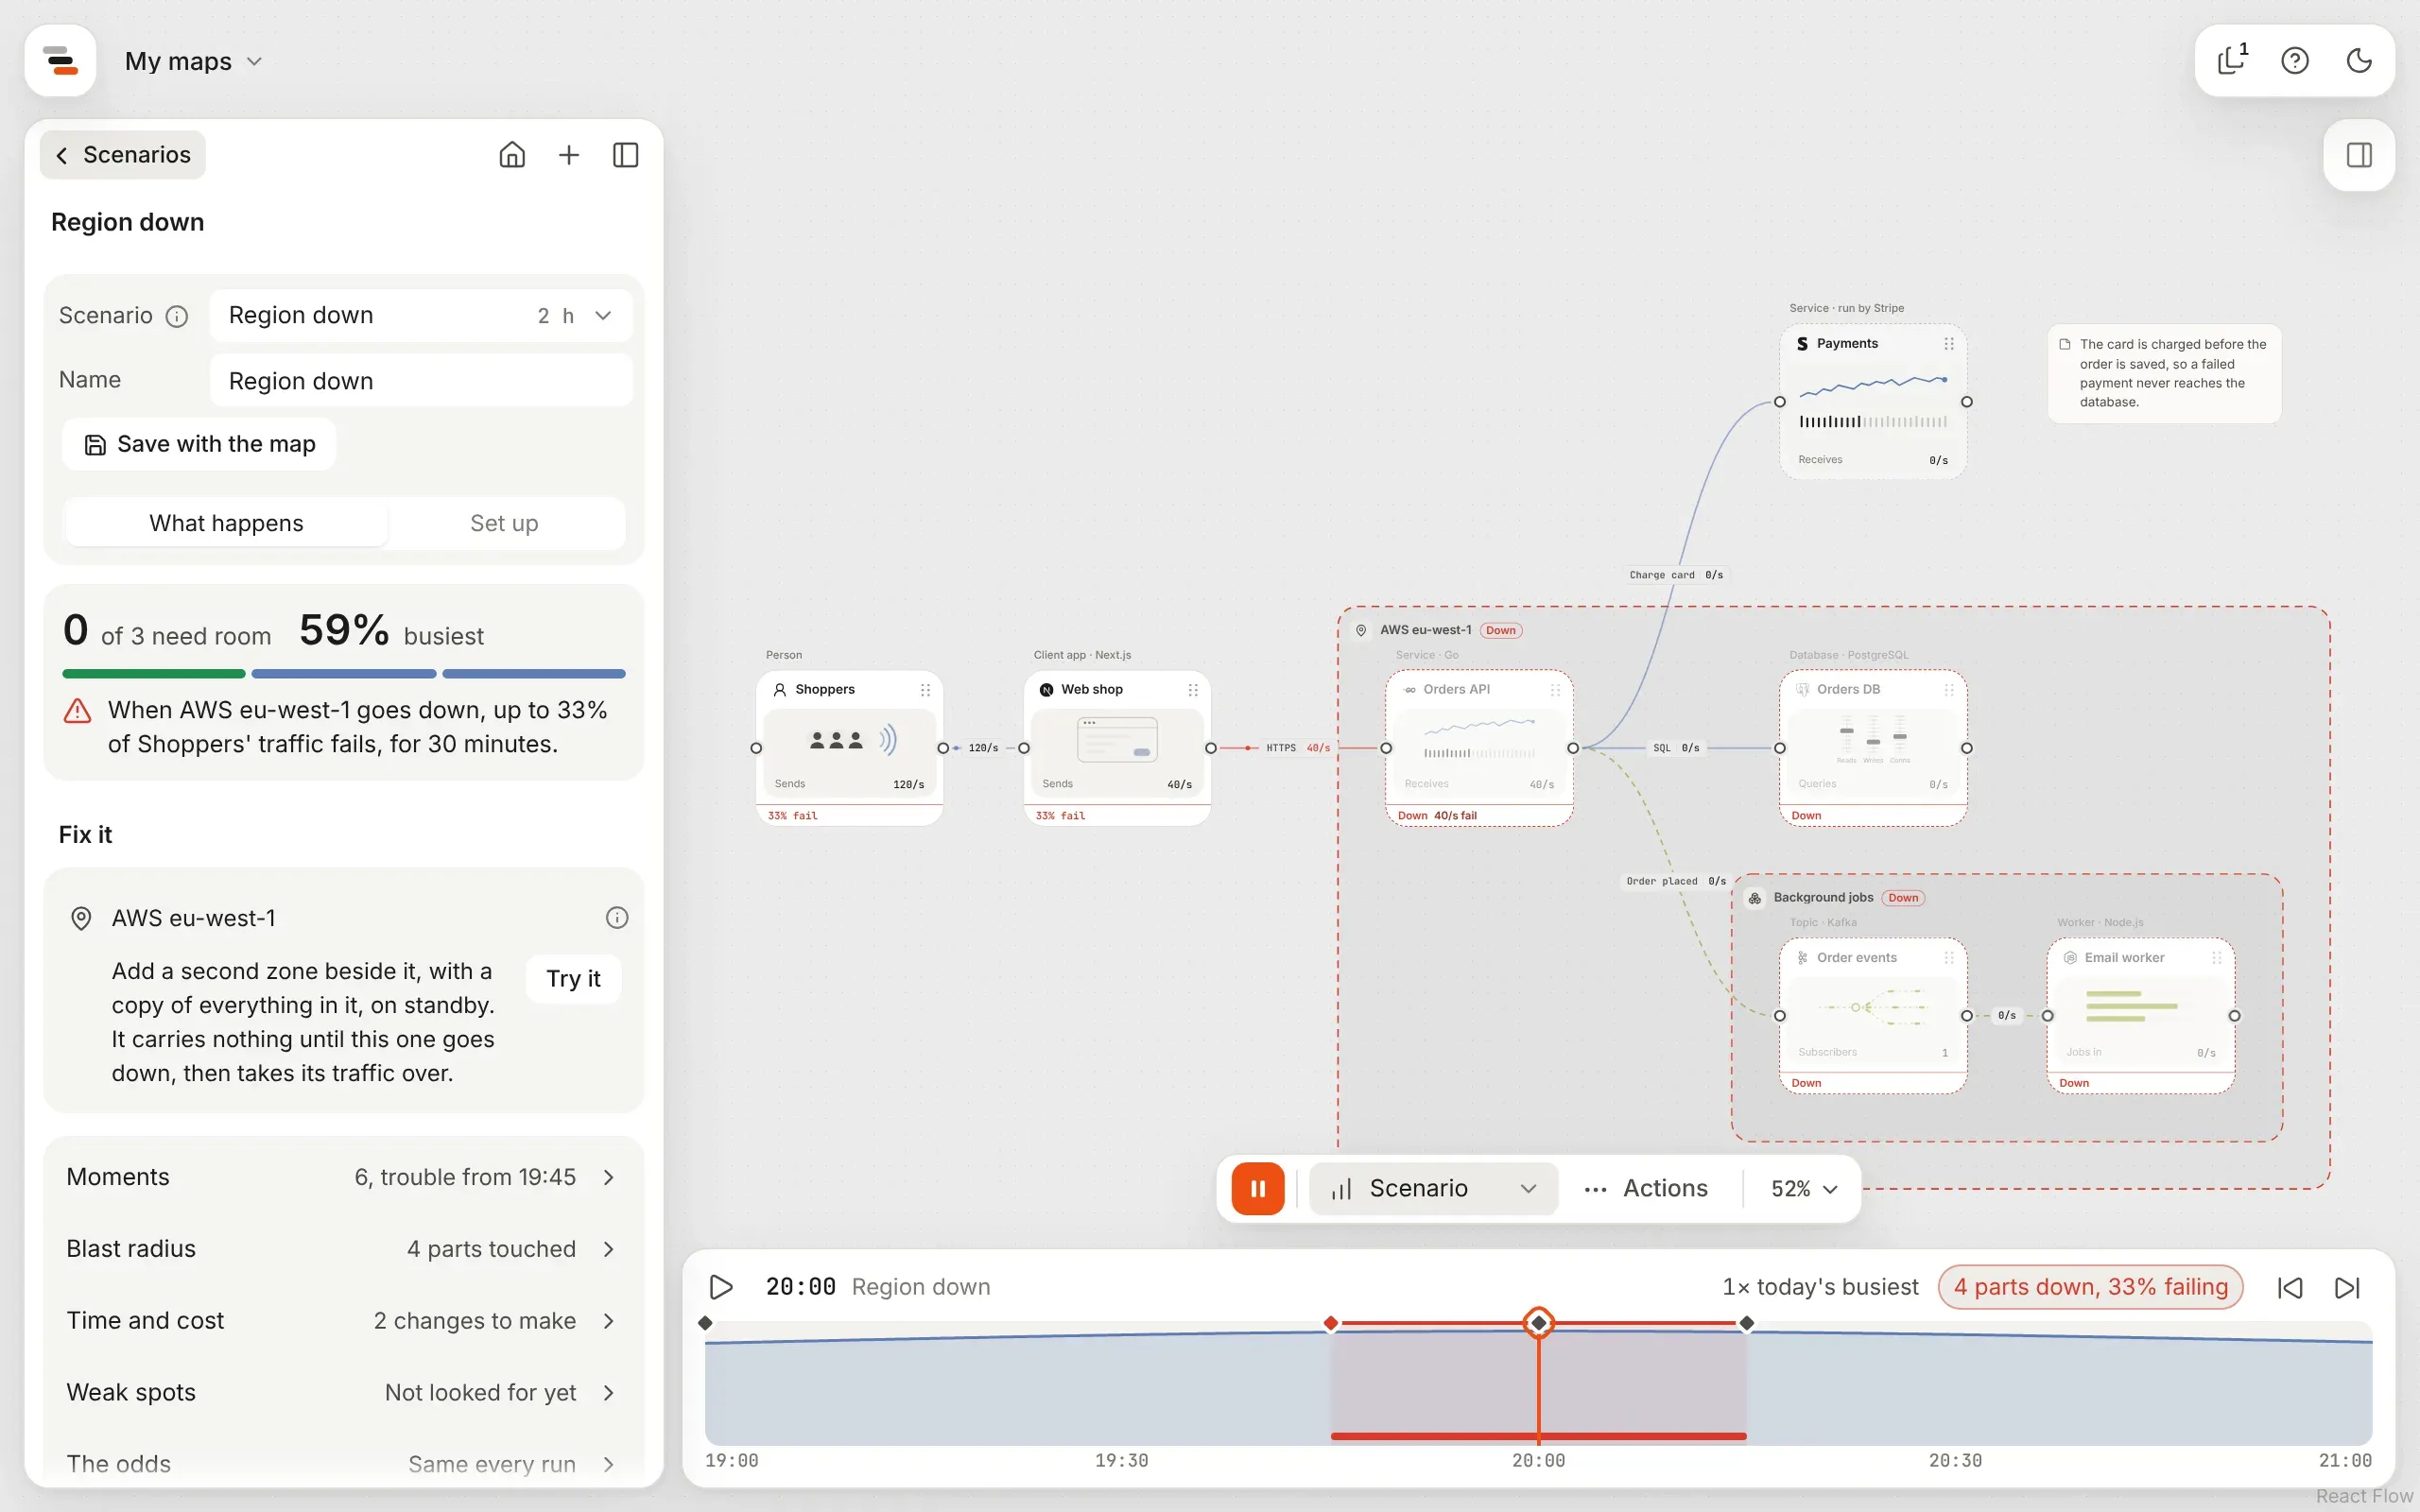
Open Scenarios and pick Region down. It takes the map’s busiest region down for half an hour at the day’s peak.
-
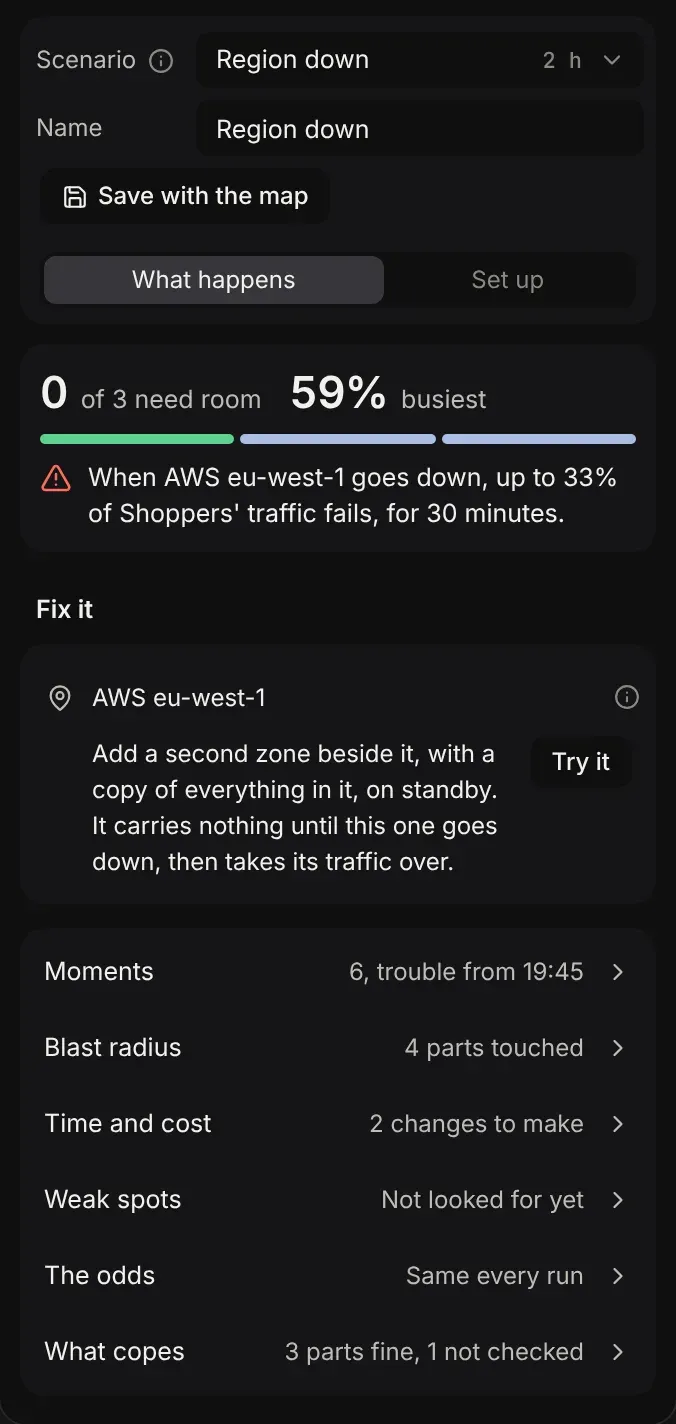
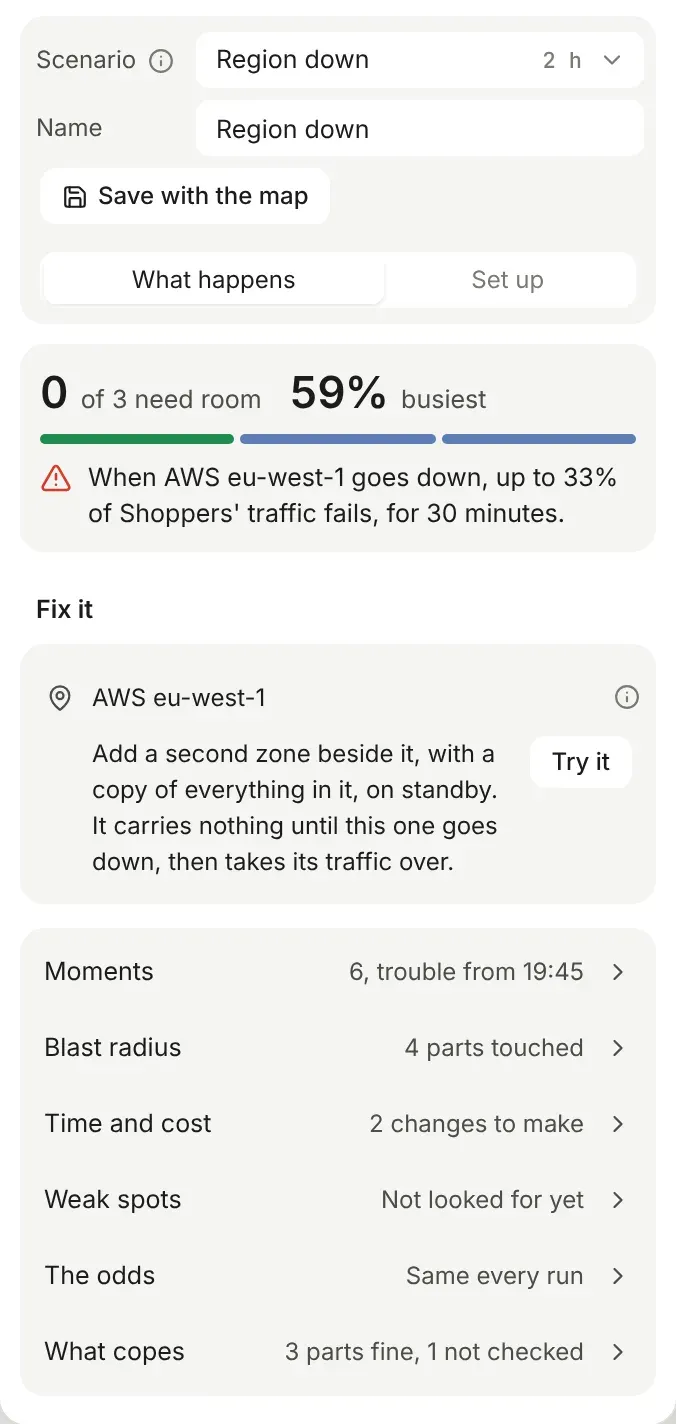
Everything in AWS eu-west-1 is dashed in red and marked Down. Shoppers and the web shop show 33% fail: every order needs the region, and orders are a third of what shoppers do.
-
Under Fix it, select Try it beside the second zone. A proposal opens with a standby copy of the region, and the top left says Copes now.
What if something breaks? walks through a database and a region going down, with every number explained.
A map with no regions loses its busiest zone instead, or its busiest part.
Break something of your choosing
Section titled “Break something of your choosing”While any scenario runs:
- Right-click a part, a zone or a line on the canvas and choose Take down here, or Cut here for a line. It goes down at the playhead, for 10 minutes.
- Or open Set up in the scenario panel and add it under Failures, to choose how long and how badly.
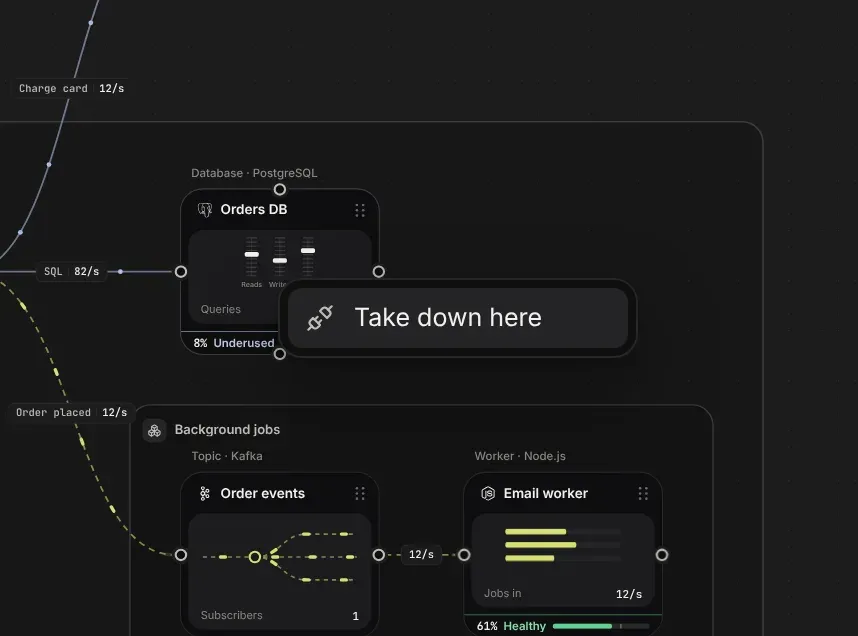
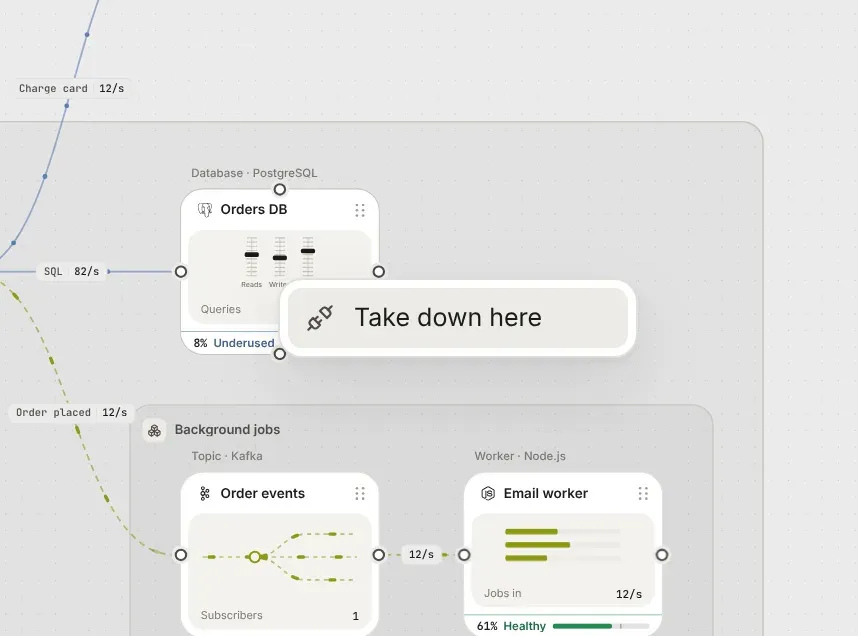
A drill changes the scenario’s draft, never the map. Save it with the map to keep it, the same as any scenario.
Set up a failure
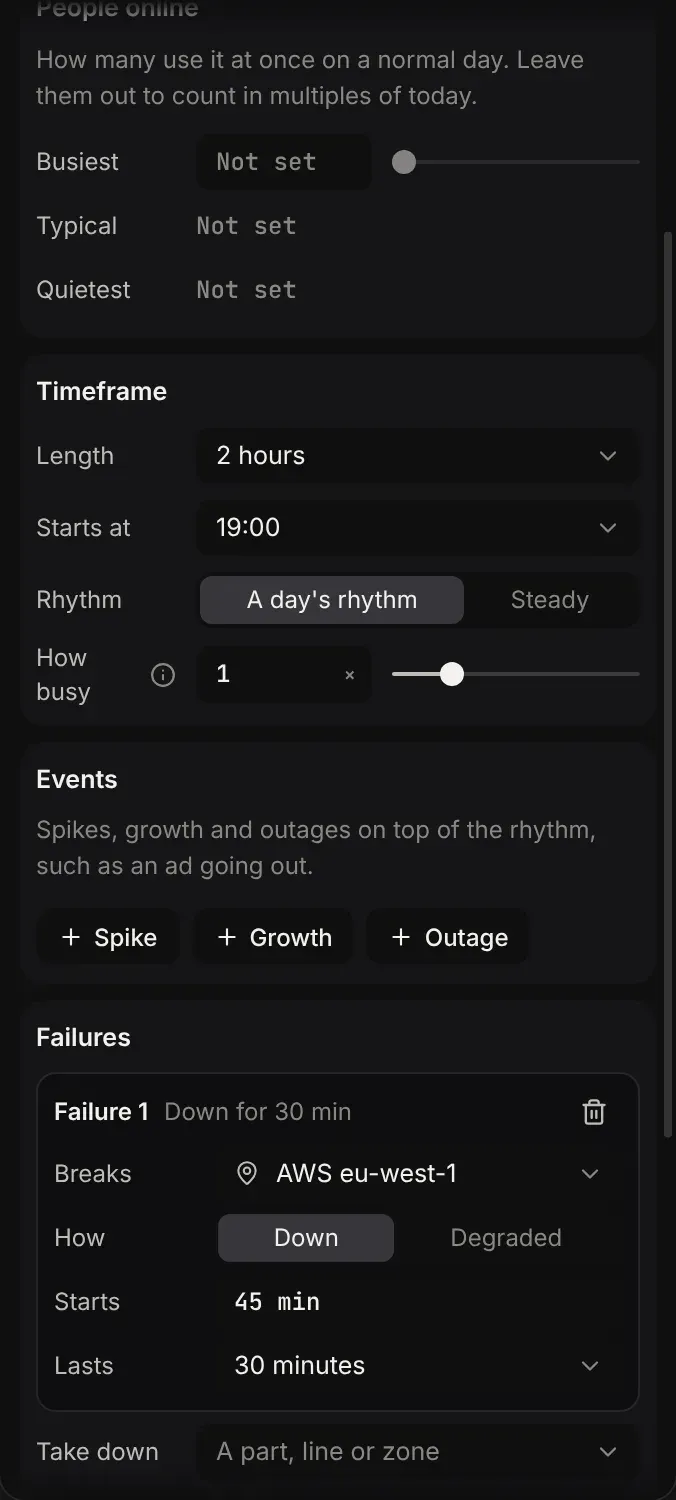
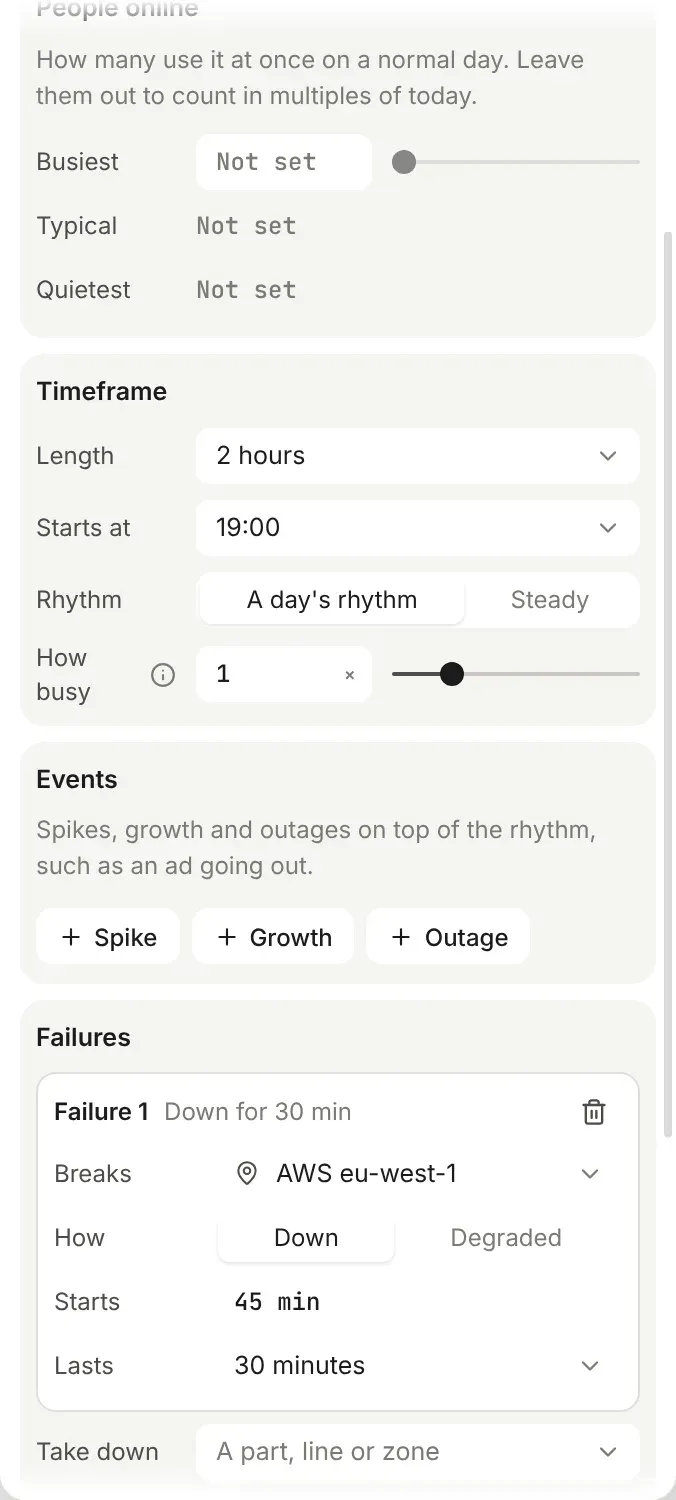
Section titled “Set up a failure”Under Set up, Failures lists each failure in the scenario. Take down adds one. What’s selected on the canvas comes first in its menu, so you can select several things and take them down together.
| Field | What it sets |
|---|---|
| Breaks | The part, line or zone that fails. A zone takes everything in it down, including the zones inside it. |
| How | Down, so nothing gets through, or Degraded, so it keeps only part of what it can take, like a database with one of its disks gone. |
| Keeps | For a degraded failure, how much it keeps, from 10% to 90%. A part that auto-scales keeps that share of its copies. |
| Starts | How far into the scenario it fails, such as “45 min”. |
| Lasts | How long it stays down, from a minute to a day, or until the end. |
Read what happens
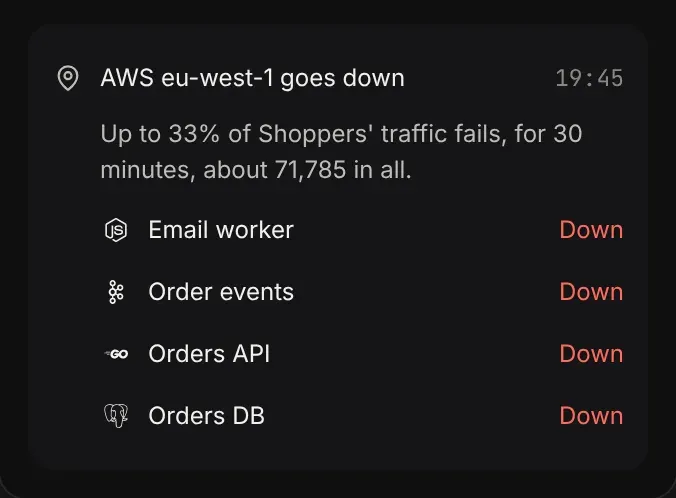
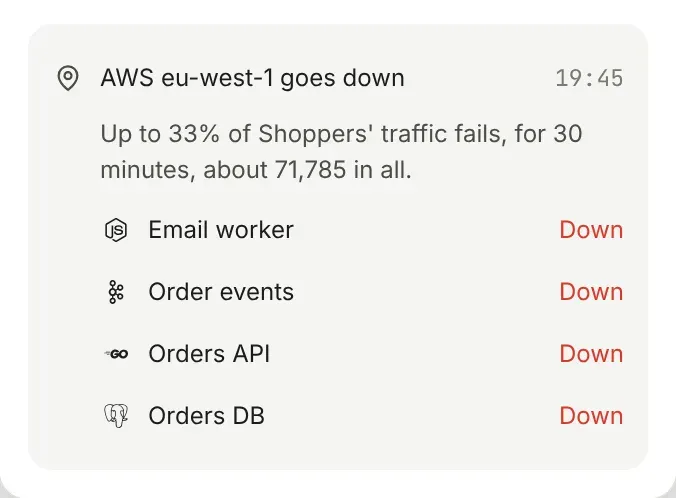
Section titled “Read what happens”The panel’s summary says what fails at its worst, such as “When AWS eu-west-1 goes down, up to 33% of Shoppers’ traffic fails, for 30 minutes”, or that nobody notices.
- Blast radius, a row under the summary, lists each failure: how much of the traffic fails where it starts, for how long, about how much in all, and every part it touched, down, failing, short of room or filling up. Select one to see it on the canvas.
- Fix it starts with what to change to survive it, with why it matters behind the i.
On the canvas, at the playhead:
- A part that’s down fades behind a dashed red outline, its live panel stops, and its health strip says Down.
- A zone that’s down is dashed in red with Down after its name, or Degraded in amber.
- A line into something that’s down turns red, and its dots fade out before they arrive. A line that’s cut is dotted, and its label says Cut.
- A line taking traffic over, such as a standby, draws thicker.
- The parts that send the traffic show the share that fails on their strip, such as “33% fail”.
The timeline marks each failure on a row under its graph and shades in red where traffic fails.
Fix it
Section titled “Fix it”Some failures need more room: a part that ran short taking traffic over, or a queue that filled while the part after it was down. Flozu sizes those fixes, and Apply makes them.
Others need a change of shape. A part or zone that nothing takes over from is a single point of failure, and more capacity won’t help. Flozu offers one of these:
| Fix | What it adds | When |
|---|---|---|
| Standby copy | A copy of the part beside it, with its lines in as standbys. It carries nothing until the part fails. | Most parts |
| Second copy | A copy beside it, sharing the traffic half each. | When a load balancer or DNS sends the part its traffic |
| Second zone | A copy of the zone beside it, with a copy of everything in it, on standby or sharing. | A zone that goes down |
| Queue in front | A queue the requests go through instead, so work waits there while it’s down. | A worker or a function that takes requests |
A fix to the map’s shape always starts as a proposal: Try it opens one named for the fix, with the fix made and the same scenario at the same moment. With two or more fixes, Try every fix in a proposal makes them all in one, called “Survive Region down”. Inside a proposal, every fix has Apply instead, and Make every fix makes them all as one step to undo.
See the fix hold
Section titled “See the fix hold”While a scenario runs on a proposal, the top left says what the proposal does to how the map copes: Copes now, Copes better, No better, Copes worse or Copes, as before. Hover over it for the whole story, such as “Before, up to 33% of Shoppers’ traffic fails for 30 minutes. After, nobody notices.”
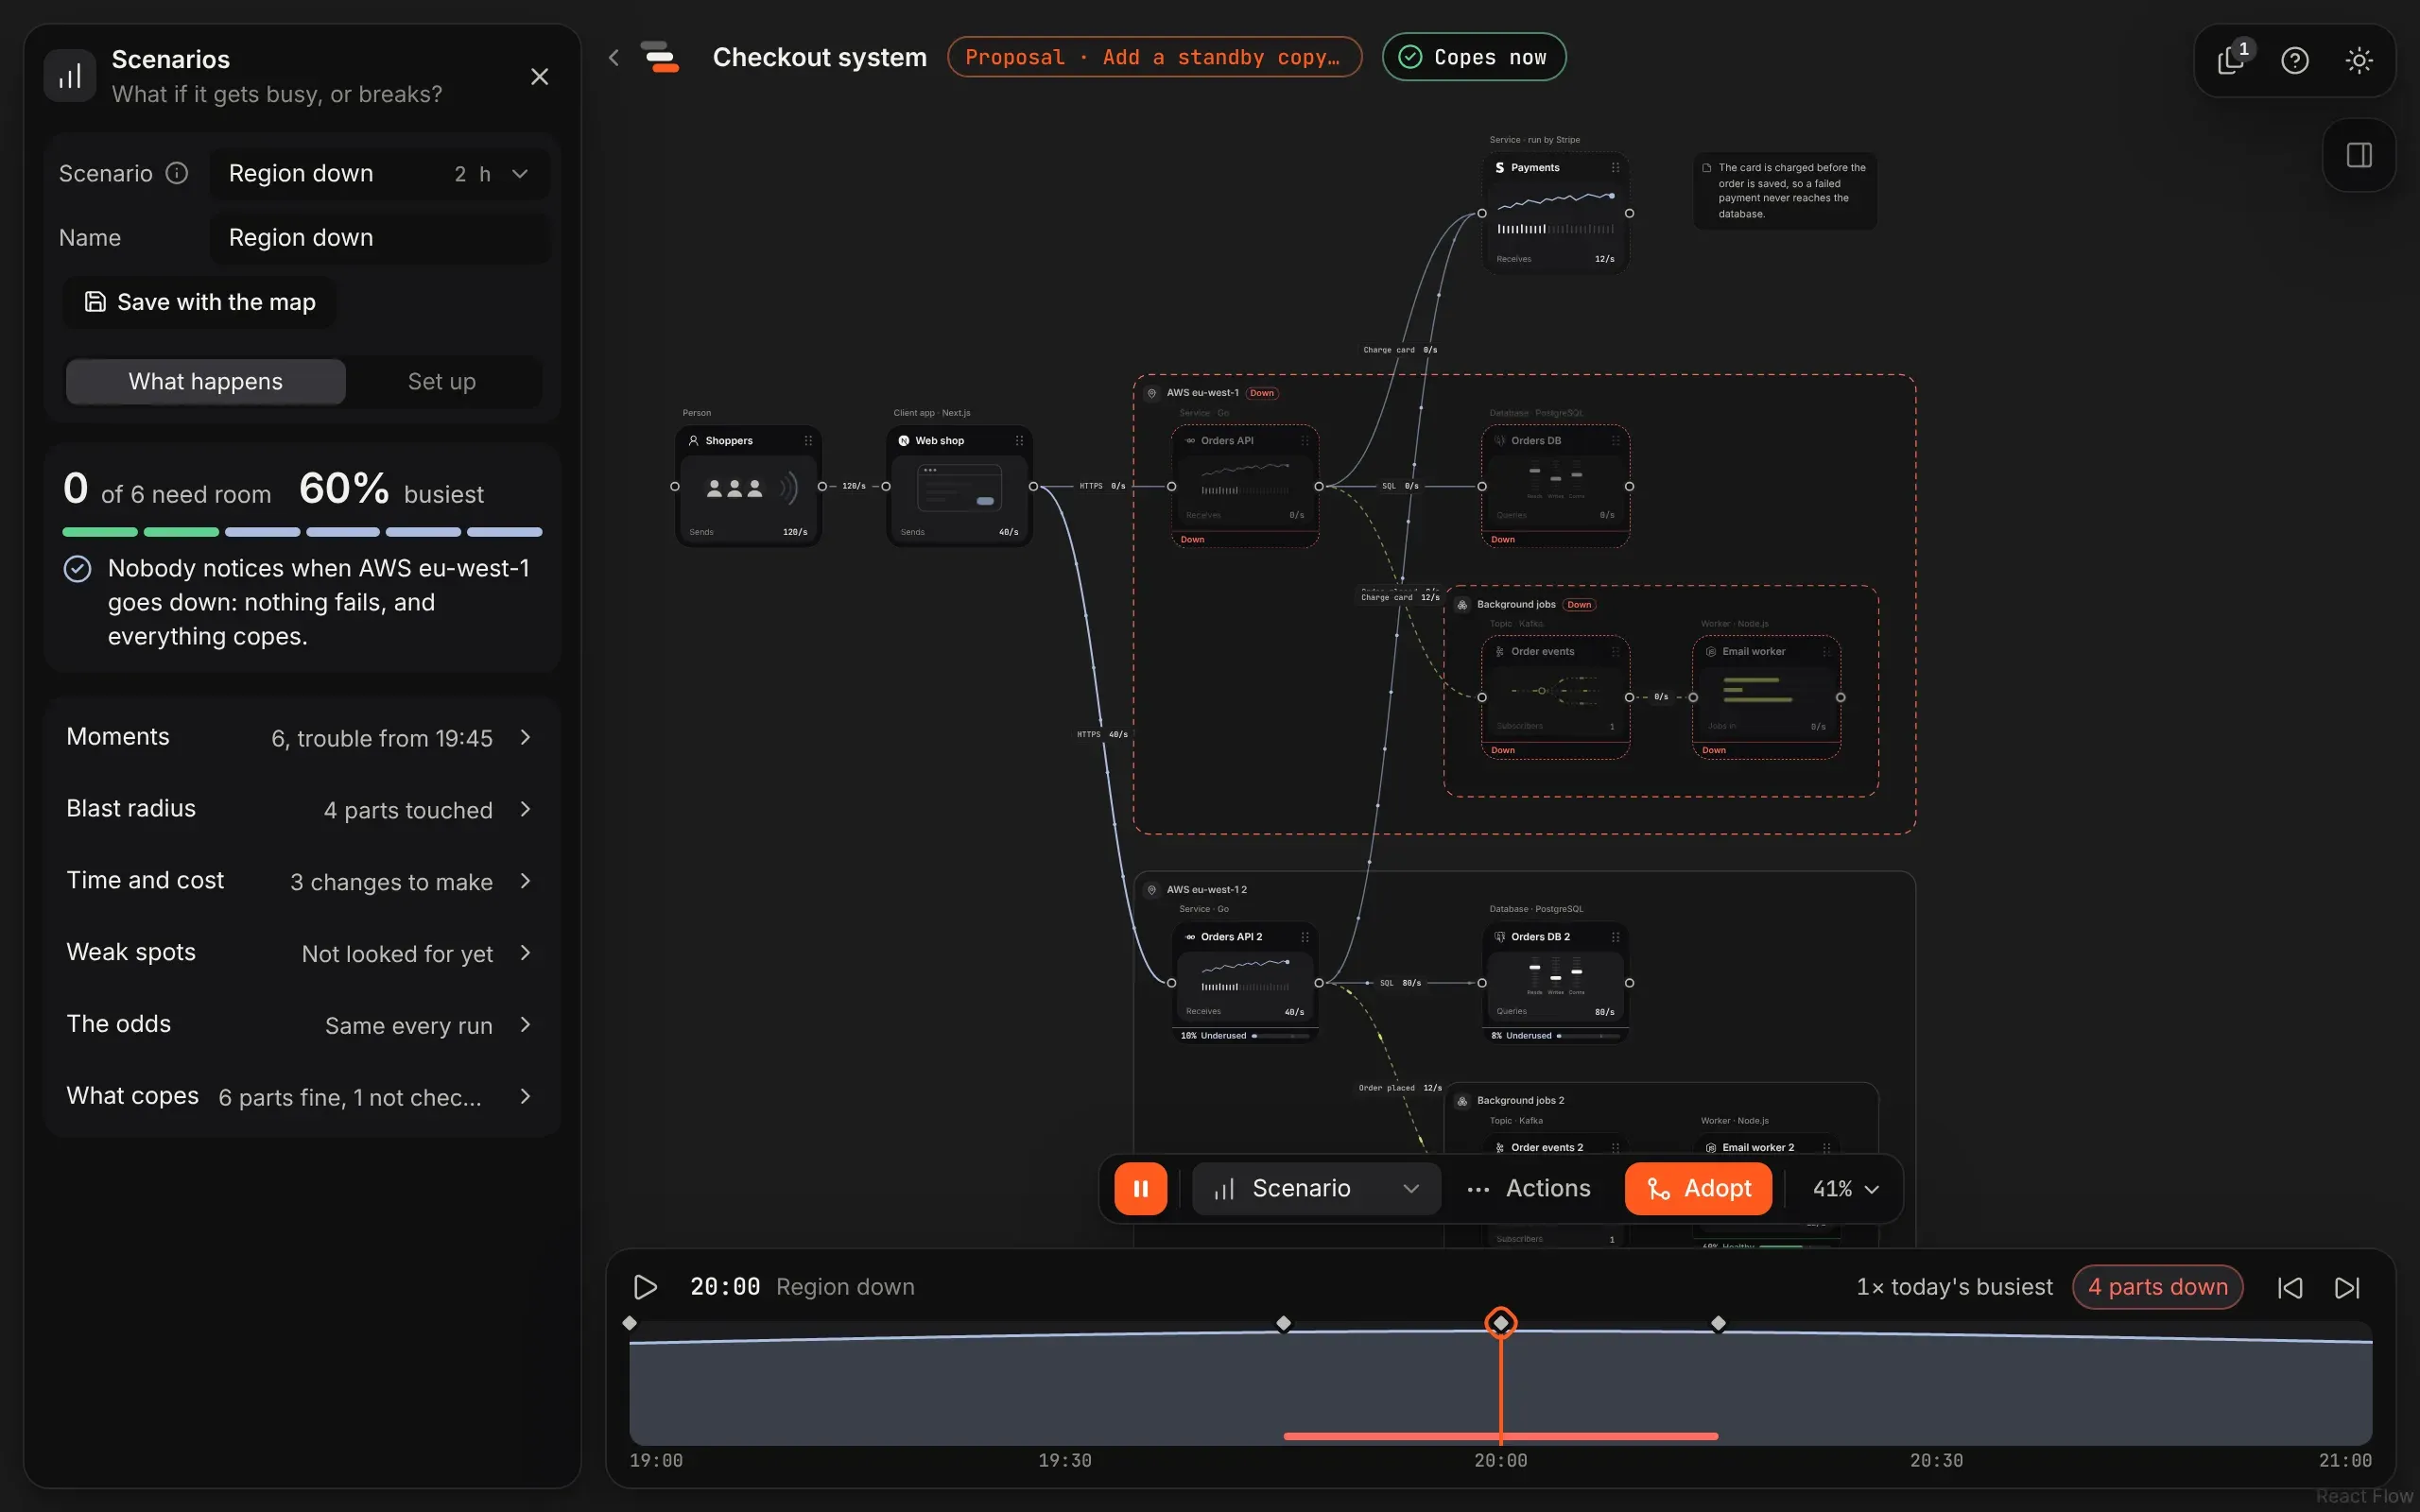
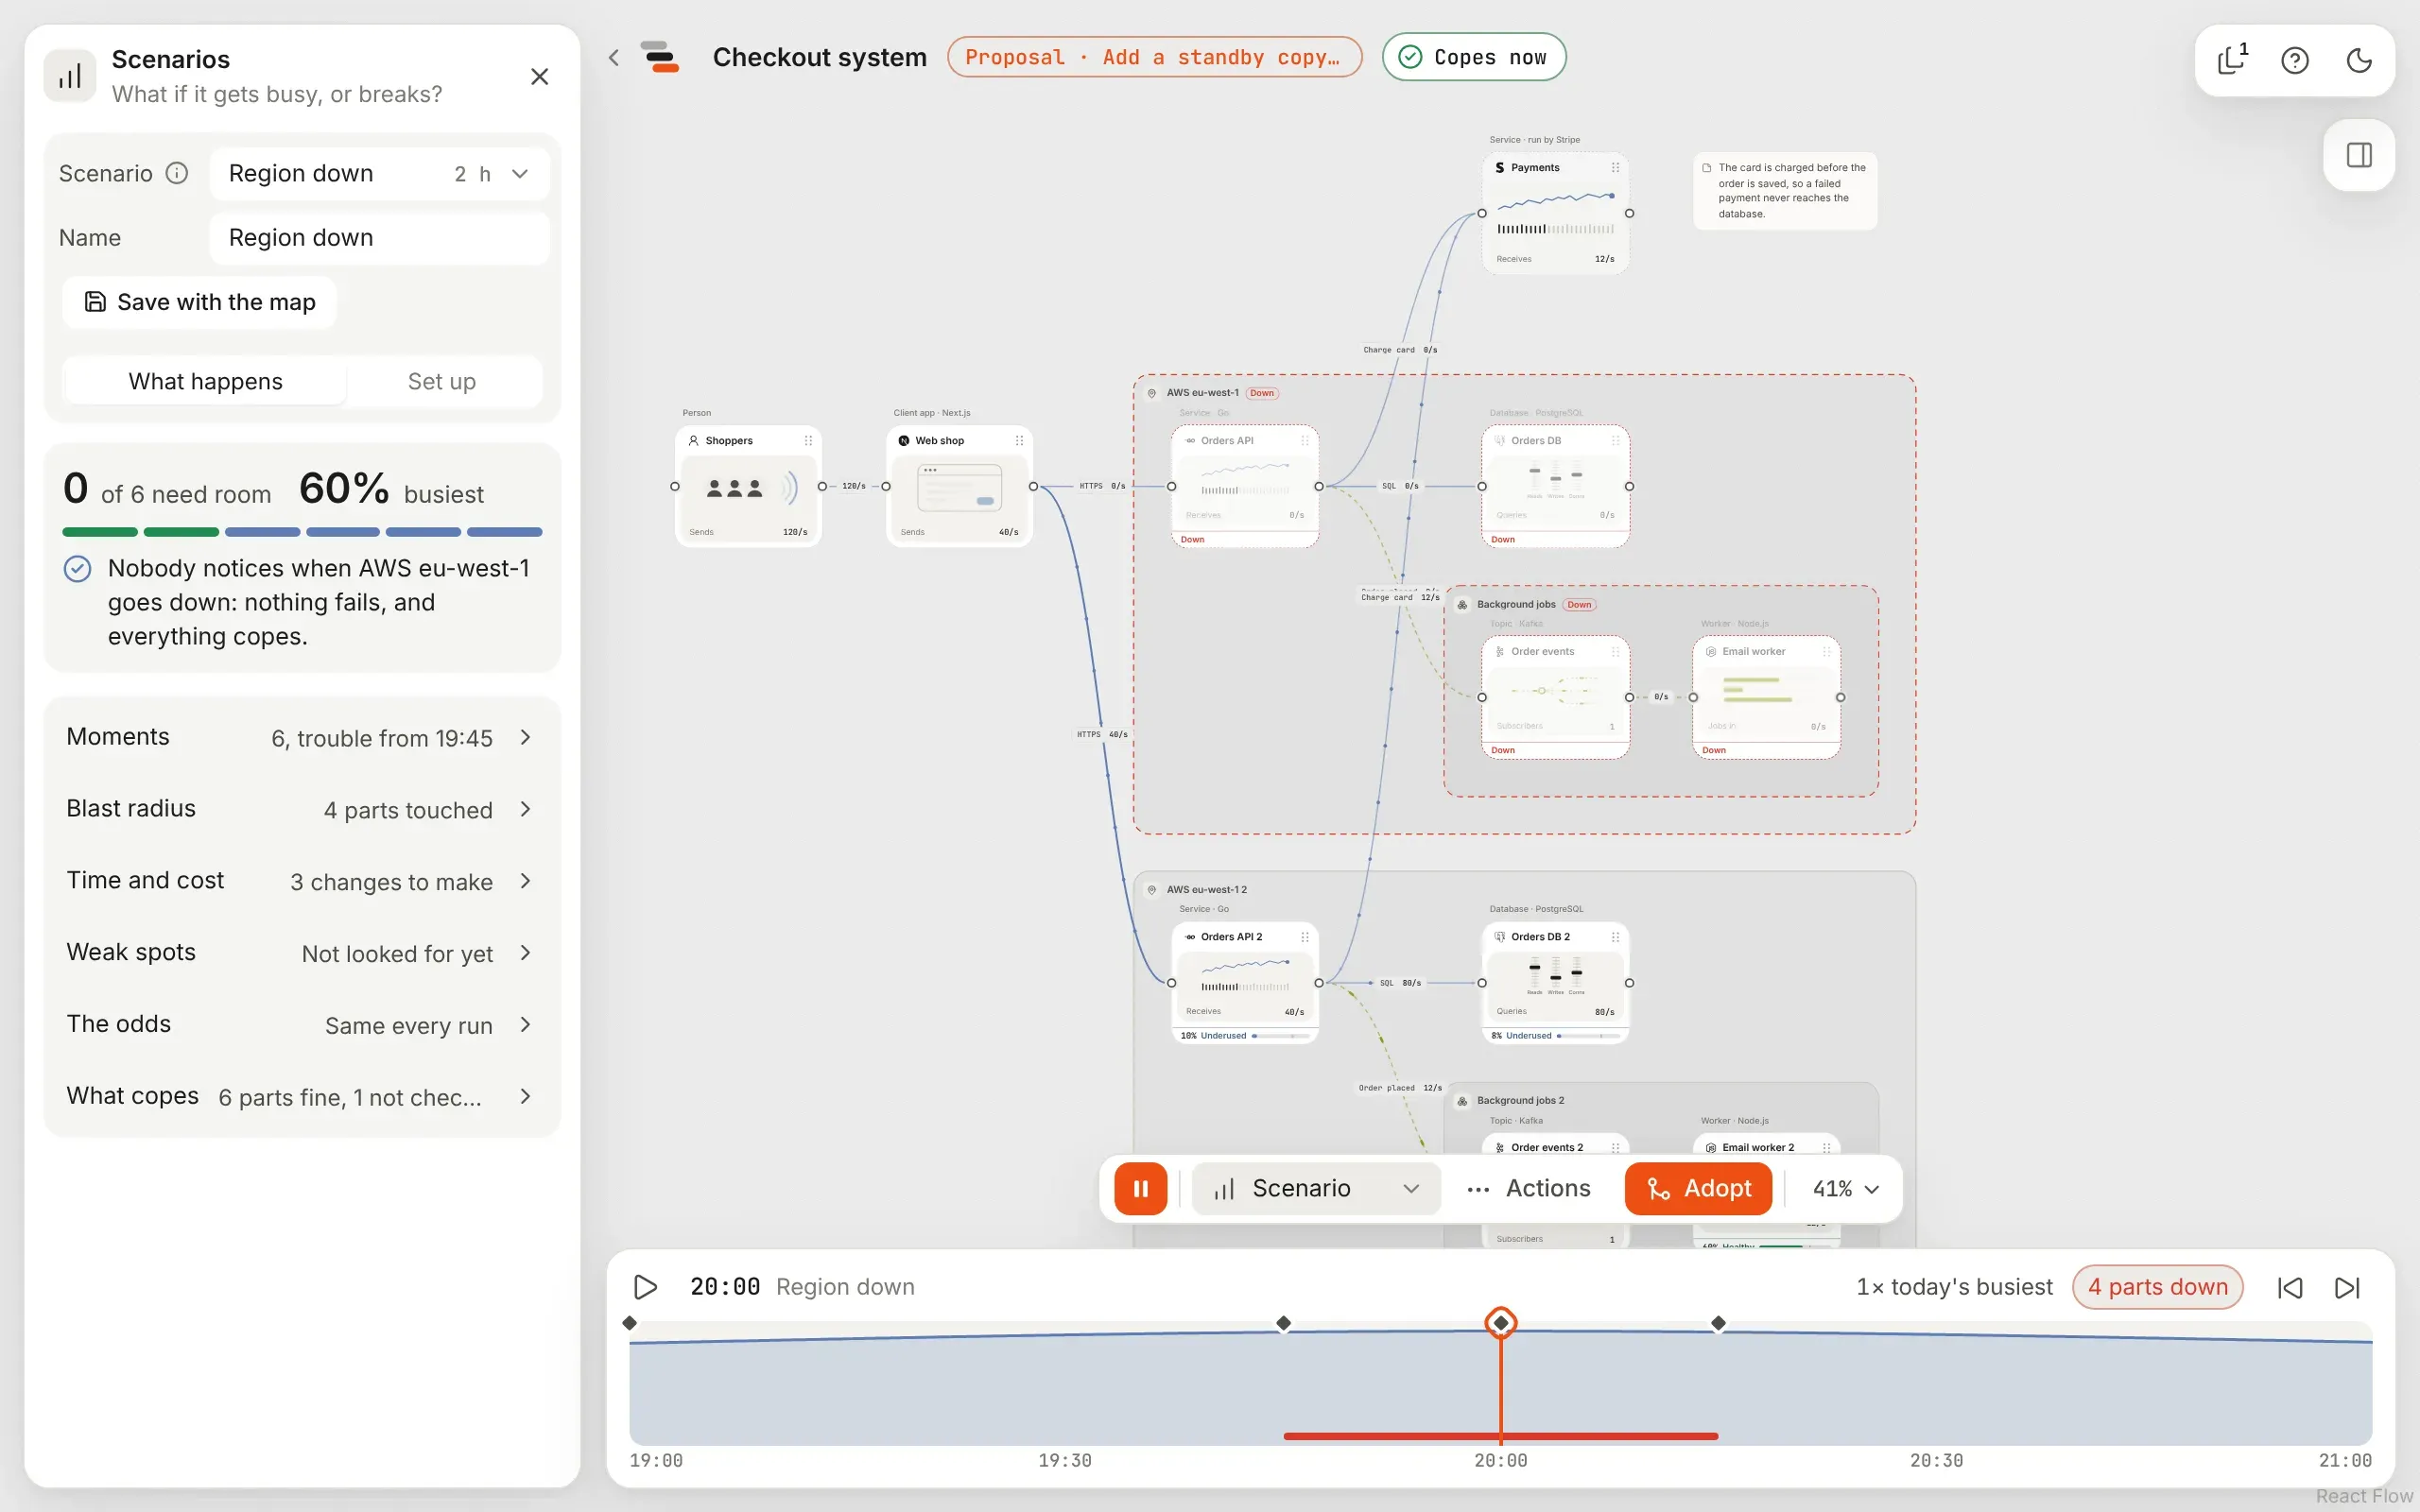
Select it to compare the proposal with where it began, with the drill playing on both and one timeline driving both maps. See replay a scenario. To walk others through the drill, the fix and the replay, make a story, as in make the case for a fix.
Find weak spots
Section titled “Find weak spots”Not sure what to drill? Open Weak spots, under What happens in any scenario, and select Find weak spots. Flozu takes each part and each zone down in turn for an hour at the scenario’s busiest moment, and lists them by how much fails where traffic starts, worst first. Drill this adds that failure to the scenario.
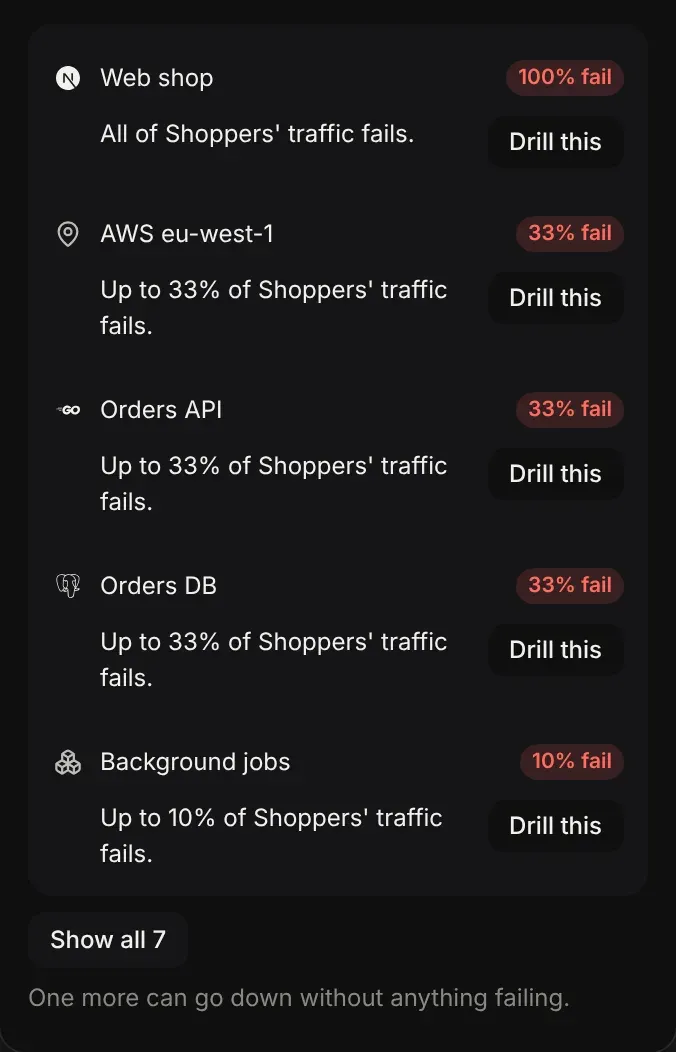
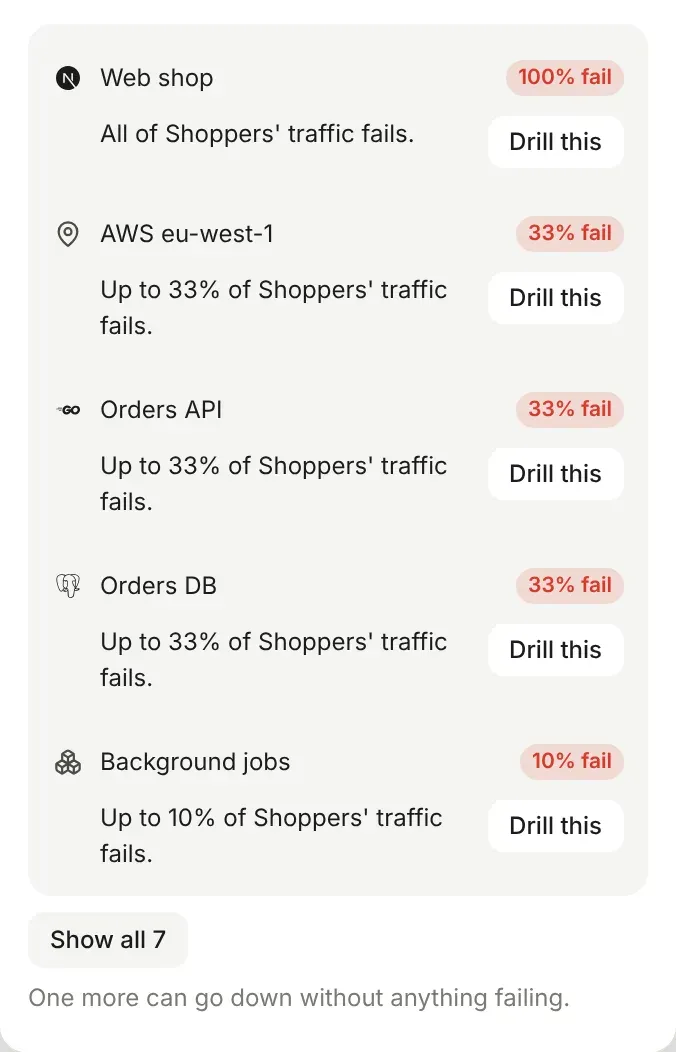
On the checkout, the worst one isn’t in the cloud: losing the web shop fails everything, because every shopper goes through it.
Good to know
Section titled “Good to know”- Taking something down from the keyboard: move the focus to it with Tab and press the menu key or Shift + F10.
- Coming back is cold. When a failure ends, a part that auto-scales waits for its copies to start, and its strip says Starting until one has.
- Some parts need no standby. A load balancer or DNS spreads traffic over its other lines when one fails. A cache that’s down sends its reads on to the database behind it. A queue holds work for a part that’s down until its buffer is full.
- Weak spots leave some parts out: the parts where traffic starts, the people sending it, and parts that only other parts use.
- Fixes land beside what they copy, with their lines, and grow the zones around them to fit.
- A standby line needs a line beside it from the same part, of the same kind, to the same kind of part. Set it with Use in the line’s Traffic tab. See standby lines.